I have to start off with a little shout out to all the Mops ladies that have just begun following my blog. Thank you so much for letting me join you at your meeting. You were such a fun group, and I know many of you could give me some serious inspiration!
I was very blessed this last week to spend some good time vacationing with great friends and my wonderful hubby. You all might be interested to know that my suitcase was by far the heaviest. Apparently my organizational talents do not extend to packing my suitcase! Next time I travel I may be seeking some tips from you all!
Now that I am home, I am back to my laundry room! And oh boy have I spent some time in there this week! You know how it is when you come home from vacation!!
We have been talking about the many ways my laundry / mudroom works hard for my family. Another hard working space is under our utility sink, where I store most of my cleaning supplies. I also have supplies to clean bathrooms upstairs, and Dawn/water and vinegar/water under the kitchen sink. I use the Dawn & vinegar solutions for almost all of my daily quick touch-ups or accident recovery. That means they are used a lot thus I like having quick access to them. Also since my kids could drink the entire bottle with no serious harm, they are good solutions to have in an unlocked, easy access location.
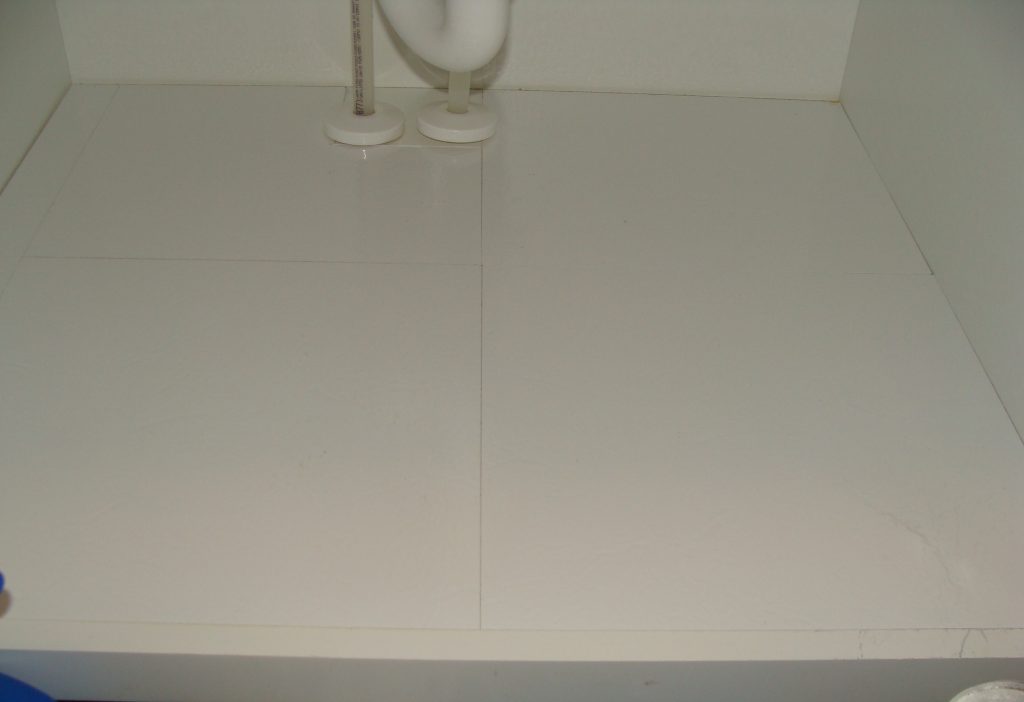
The supplies under my utility sink are the locked cleaners I wouldn’t want my kids to get their hands on, and the things I use less frequently. I began storing these supplies under my cabinet in the laundry room right after we moved into our house, but after a year or two I was seeing some damage to the base of our cabinet. I utilized an HGTV tip and used laminate floor tiles to cover the cabinet base, and I am a huge fan! My cabinet base is now super easy to wipe clean, and I haven’t had any new water damage. I also love how bright and clean it looks, even 4-5 years later!

I wasn’t taking pictures of my projects back then, so I am lacking good tutorial photos for you all. However, I am confident there are a million tutorials and blog posts about it out there by now that could give you step-by-step instructions with photos. Really, it is so simple though I don’t think an in-depth tutorial is even necessary. Here’s the super simple how to:
1. Tiles are 12×12 and cost $1.16 at Lowes.
2. They come with a sticky back so there are no additional supplies to purchase.
3. Start by laying one full tile flush with the front, right (or left) corner of cabinet. Simply peel off paper backing to expose adhesive and press firmly.
4. Continue to lay tiles, measuring and cutting tiles when partial tiles are needed.
5. You can cut the tiles with an exacto knife. Simply score/cut the tile partially through and then the tile will snap off along your cut line.
6. Leave a small gap between tiles or cabinet edges to allow for some expansion and contraction with weather change.
These tiles have made re-ordering my cabinet so much easier. I actually added the tiles to the bottom of the cabinet under my kitchen sink as well.
One day a couple of weeks ago when I was taking photos for my last post, I realized I needed to sort through my cleaning supplies. So, in the middle of my super busy week preparing for a garage sale and a vacation, I decided to clean the cabinet. Not sure why I add in these crazy projects when I totally don’t have time to! But doesn’t it seem that sometimes the only way to keep the house in order is to do it even when we really don’t have time to. I’m guessing there are quite a few of you out there that do the same thing!
As always with an organization project like this, I started by emptying out my cabinet and tossing cleaners that were really old, or I didn’t think worked well and know I will never use. I know sometimes guilt enters here. Throwing away a perfectly good bottle of cleaning solution seems so wasteful. But, as I’ve explained before – I think it is actually more responsible to toss the stuff we won’t use, so we can take care of and use the stuff we really will use.
After clearing everything out and wiping down my tiles, I began to put everything back in its place. Sorry I didn’t take a before picture, it wasn’t intentional. I didn’t really set out to clean my cabinet, it just kinda happened! About half way through I realized I should have been taking photos.
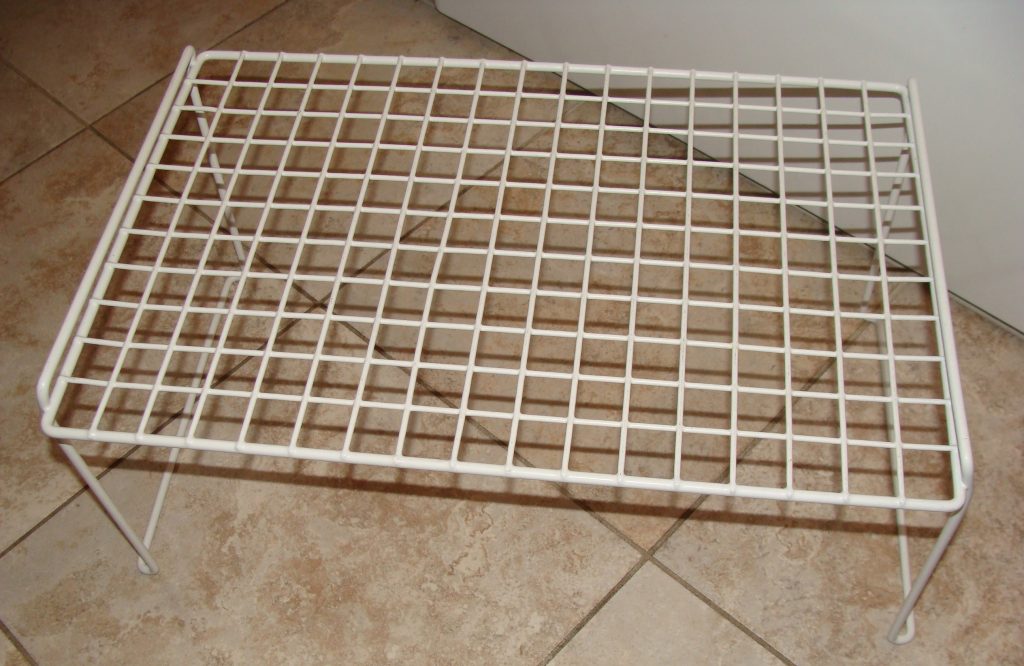
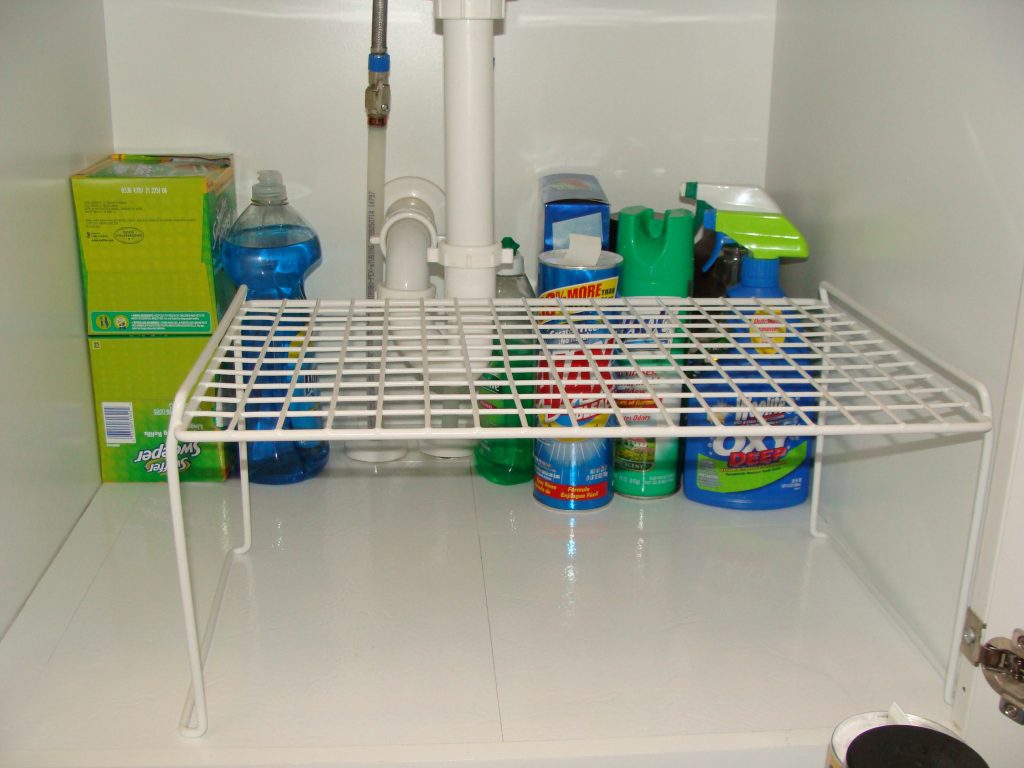
I have a wire shelf under the cabinet to give me more space. I can’t remember where I got it, but they have a lot of these types of shelves and baskets at Menards, and they are very reasonably priced – about $3 each, compared to $8 or more at Walmart and other locations.
I place all of my cleaning supplies that I only use a few times a year behind this shelf, and then I can place my more frequently used items below and on top of it.
I like that my shelf is low enough that I can still see what supplies are behind it, and I can pull them out without having to remove the shelf. The cleaning supplies I use on a regular basis are then placed in the remaining, easily accessible spaces.
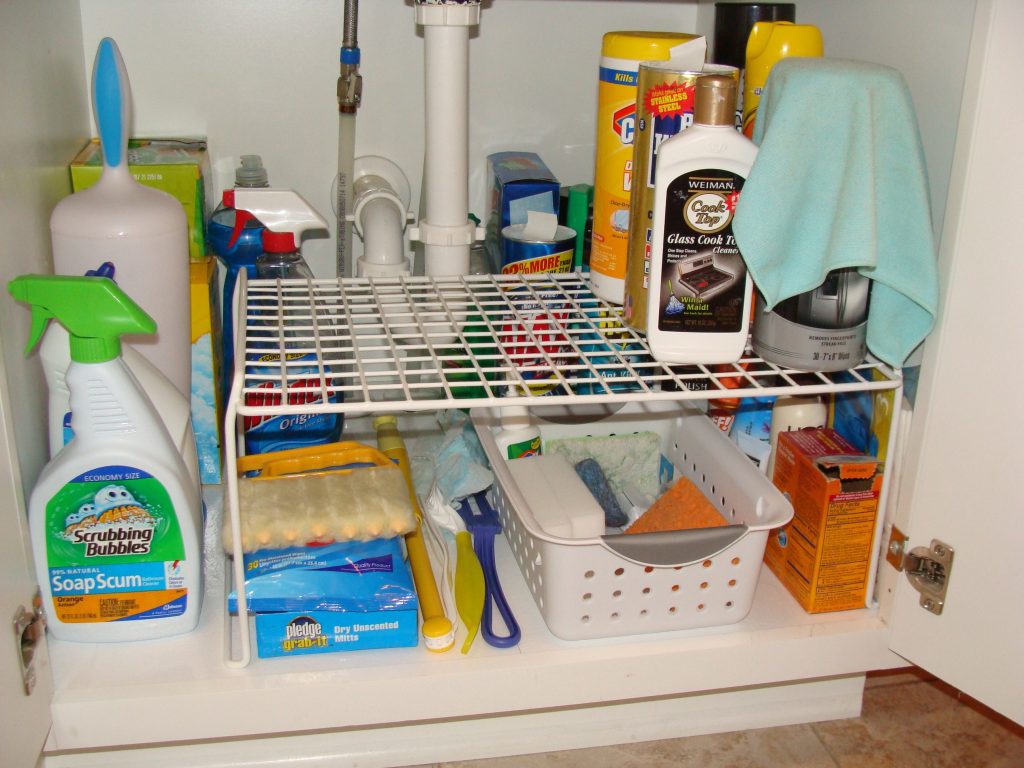
1. I place my tall and frequently used supplies to the left of the shelf – additional cleaning supplies for our first floor, half-bath.
2. My medium-sized cleaning supplies go on the top right side of the shelf: Pledge, stainless wipes, stovetop cleaner, Bar Keepers, granite cleaner and Clorox wipes.
3. Small supplies go under the shelf. I corral the really small stuff that has a tendency to “disappear” in a small basket. I like that this basket has holes for air flow, but a solid bottom so I can safely place items in it that may still be a little wet.
I wouldn’t really call this space pretty! but it functions really well. I can easily see what I have, find what I need, and keep things in order. I honestly don’t think this cabinet had been cleaned out in 2-3 years, and it was about a 30-45 minute project to get it back in good shape for another few years! I would consider that to be an effective organizational system for this frequently used space of products that have the potential to be really messy.
My next post about my laundry room will be about how I go about actually doing laundry for my family of five without losing my mind! And yes, we do fold and put laundry away every time I do it – usually the same day, unless the kids are already in bed. I’ll share with you how I make that daunting task manageable. However, I am not above digging through a child’s hamper and pulling out a dirty jersey or pair of baseball pants on game day either!


