
OK! back to the fun stuff, paint! Since I was in need of a cheap, cute and durable storage solution for my son I knew refinishing a dresser was my best option. And, now that it didn’t have to be a two-week process I began to scour Craig’s List for the perfect dresser. I can’t say I got the perfect dresser, but I’m quite happy with it!
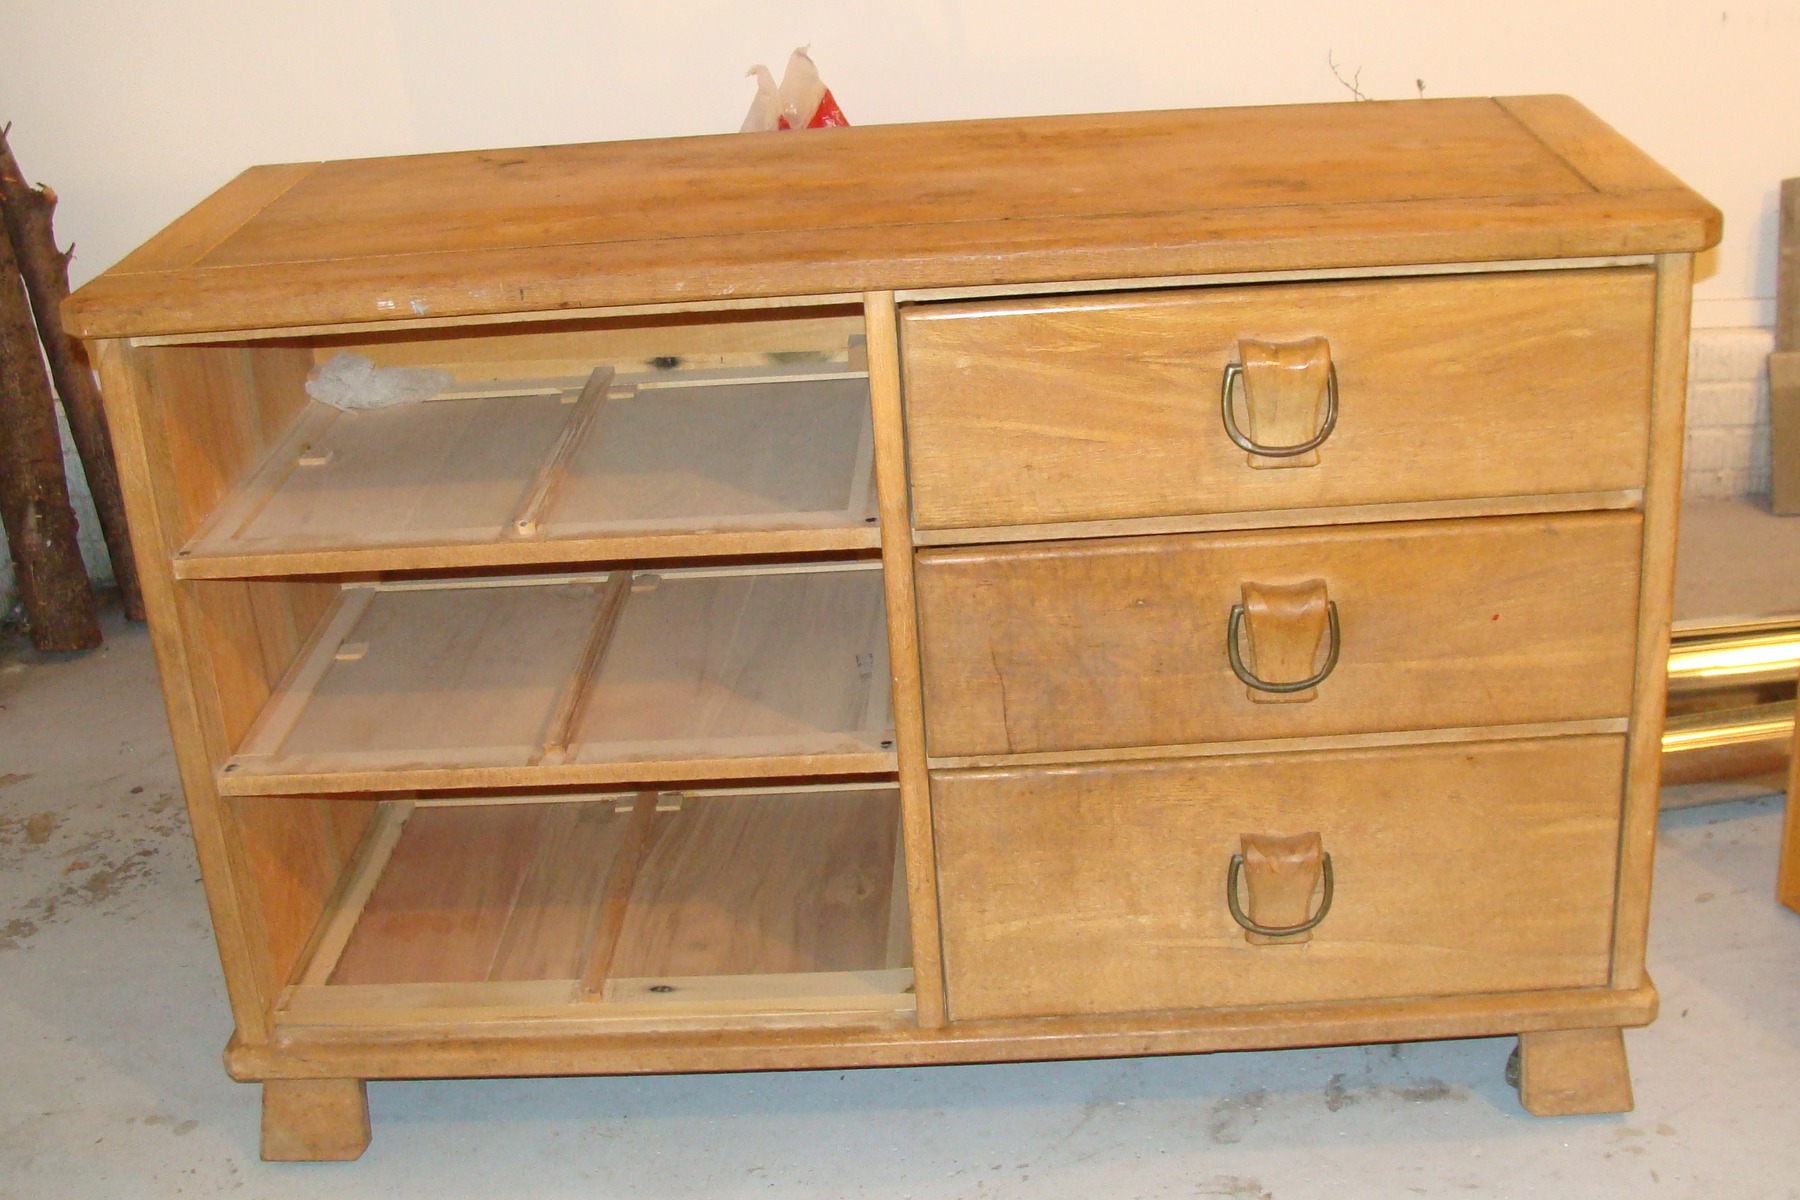
Here is what it started out looking like. It is a solid wood, Drexel dresser in great condition after a little soap and water to wash away the dirt. I like that it is a little masculine and at only $40 it is perfect for my little guy!
Yes, the dresser has all 6 drawers! I had taken half of them out and removed the hardware before I realized I would need a before picture for my blog. I’m still learning!!!
My first step was to pick a paint color. This sideboard inspired my color choice – French Linen. It is the same photo my friend and I had found in picking French Linen for her chairs. I LOVE! this sideboard from Reloved Rubish, but knew I also needed something less detailed for a little boys room.

To research colors you can go to the Annie Sloan website. You will find a page that shows all available paint colors and some information about altering the color by adding Old White. If you search for photos online you can also find a ton of inspiration pieces like the photo I found. The AS website also has information about the clear and dark wax options that alter the appearance of the final product. Don’t get scared by all the options, layering of colors, products to buy or the prices. Read on and you’ll see that you can make it very simple and reasonably priced.
If you live in Des Moines, IA you can find the paint at TLC Vintage Collection. There is a full list of retailers on the Annie Sloan website as well.
So, after picking up some Annie Sloan paint in French Linen, I began my project! One evening while my dad was hard at work in our basement and I was feeling useless with my electrical skills, I got busy prepping the dresser. I know I said there is no prep, but this dresser was from a random bachelor’s home found on Craig’s List and would be the home of my precious little man’s clothes for years to come. It needed a good scrubbing before I went any further! So I…
-Removed all of the drawers.
-Removed the pulls from each drawer (the wood & metal part came off just by removing 2 screws)
-Wiped the entire dresser down with soap and water and then vinegar and water. I started with Dawn and water to cut through any grease and then used the vinegar solution to help neutralize any odors.
The day my dad left I could not contain my enthusiasm and began the painting, which was SO easy! I started painting late on a Monday afternoon after my oldest two kids got home from school. I had to have my son to speech in less than an hour so I quickly painted the first coat using cheap foam brushes (so I didn’t have to wait for brushes to wash & dry between coats). About 45 minutes later the first coat was on and we were off to speech. When I got home from taking my son (my husband picks him up) I returned home to apply one more coat of paint before dinner. Yes! in less than two hours the painting was done!
After dinner and bedtime routines I returned to my project and applied the wax. Now, I kinda went against my nature and was a rule-breaker at this point. I decided that instead of spending 30 some dollars on the Annie Sloan soft wax I would use some Minwax Paste Wax I had for my kitchen cabinets. I wasn’t sure how that part would turn out, but wasn’t really up for spending more on paint and wax than I did on the dresser.
I used the Paste wax just as I would have the Annie Sloan wax and it appears to have achieved the same look and finish. However, I will say the Annie Sloan soft wax is MUCH softer and easier to work with! I ended up applying the wax with my bare hand so the warmth of my hand would soften the wax a bit. I then rubbed it in with a dry cloth and let it dry for a few minutes while I applied wax to the rest of the dresser and drawer faces. I then buffed the wax finish with steel wool. The steel wool takes the paint from a chalk to a smooth and shiny finish.
I also distressed a few places to add a little character and hide any flaws in my painting or damage that may occur from the little man. I simply rubbed a little longer with the steel wool on edges and places that would show natural wear and tear.

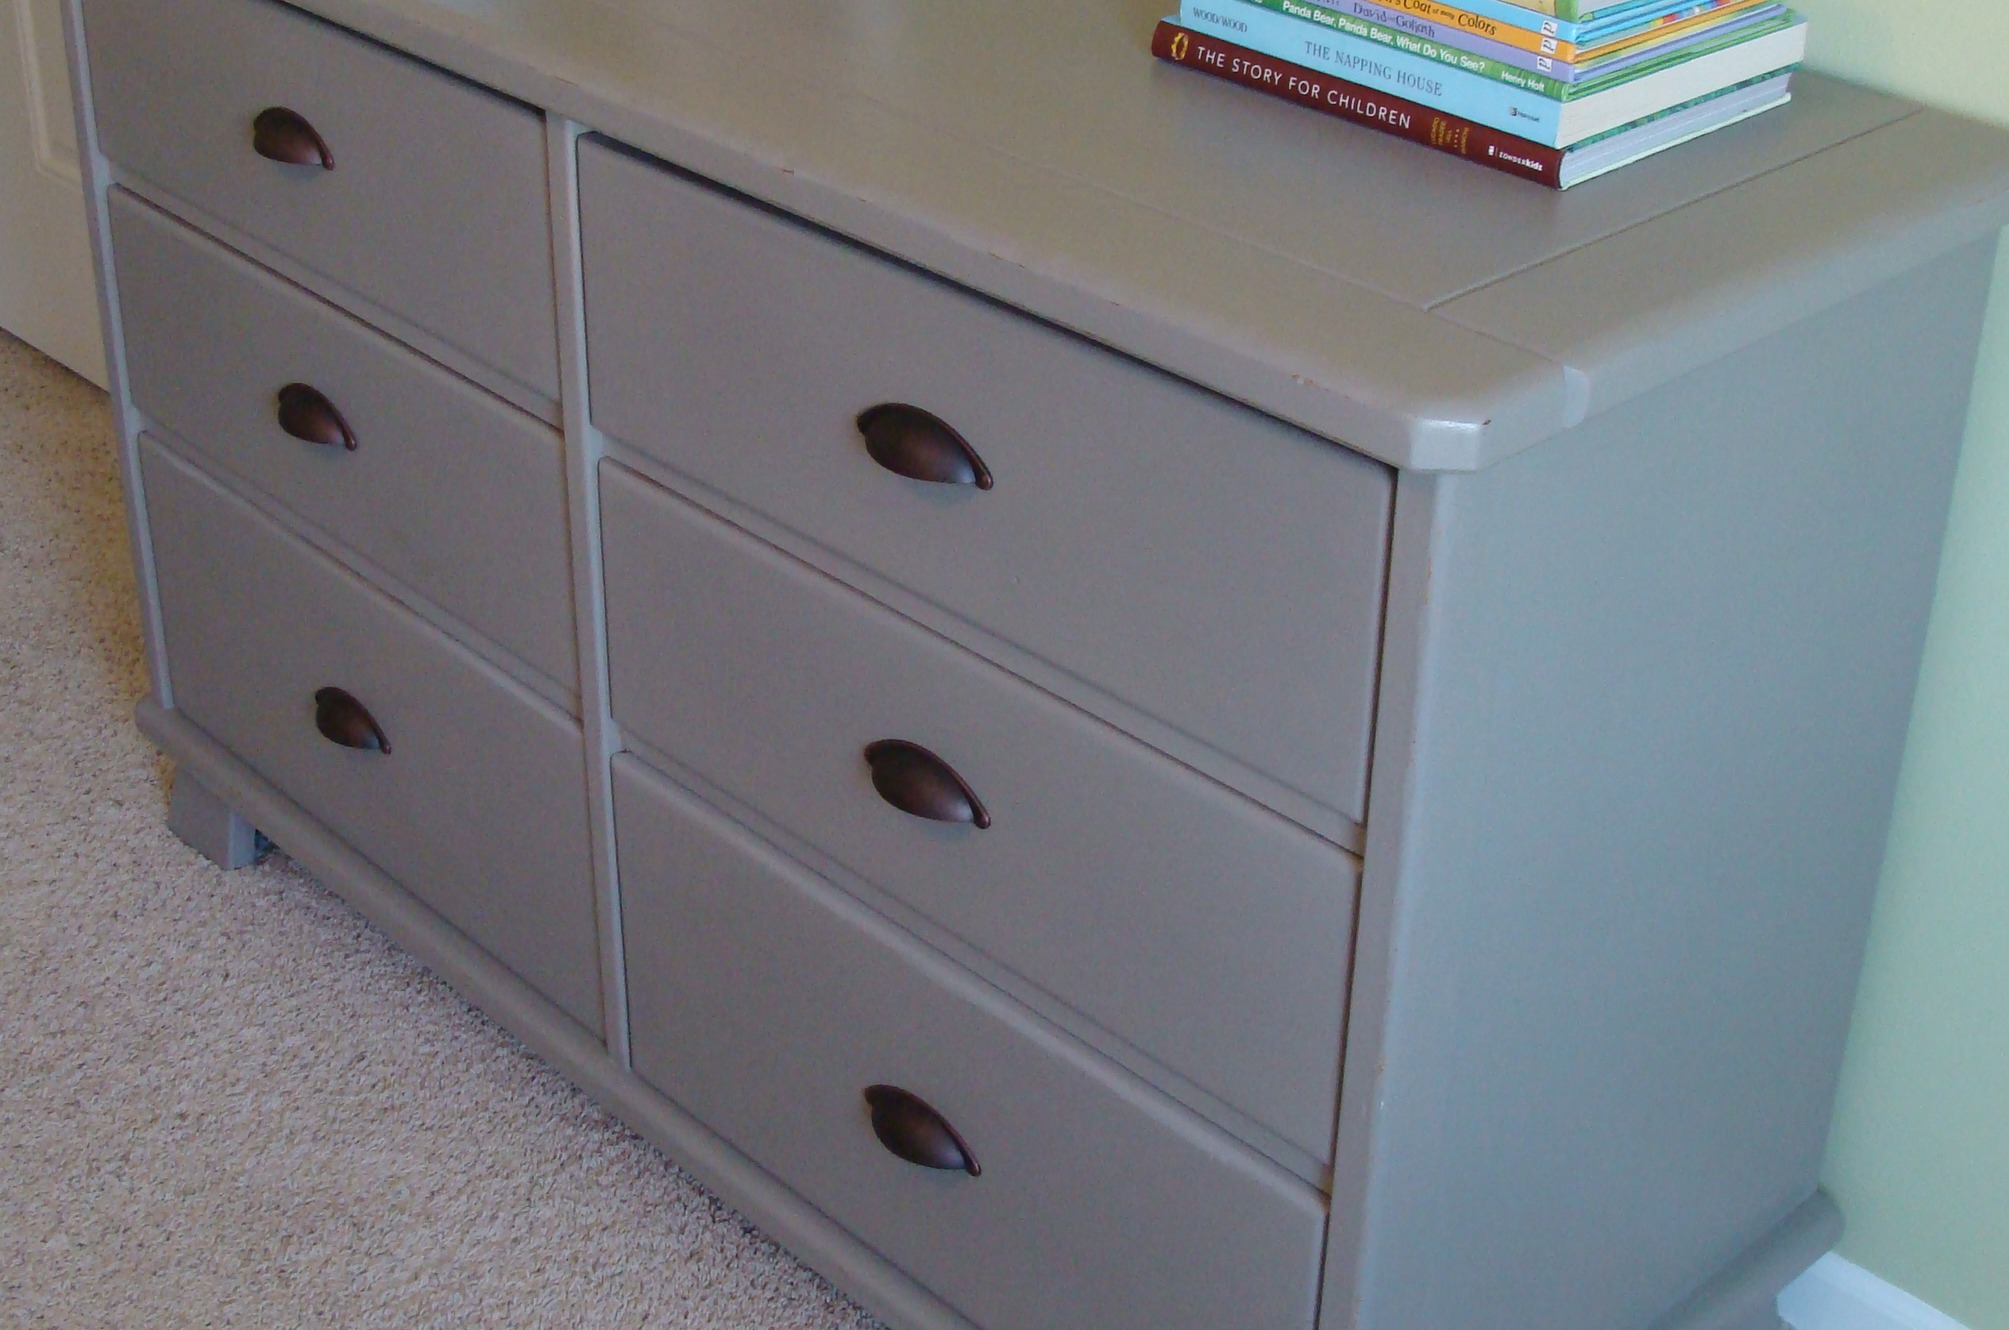
I debated using these drawer pulls again, after painting them. Once painted they just didn’t work at all. So, off to Lowes I went to find new drawer pulls. The problem was that the old pulls used two screws about an inch apart. I needed to either use those holes (impossible!) or cover them with a new long pull. Here is what I ended up with.

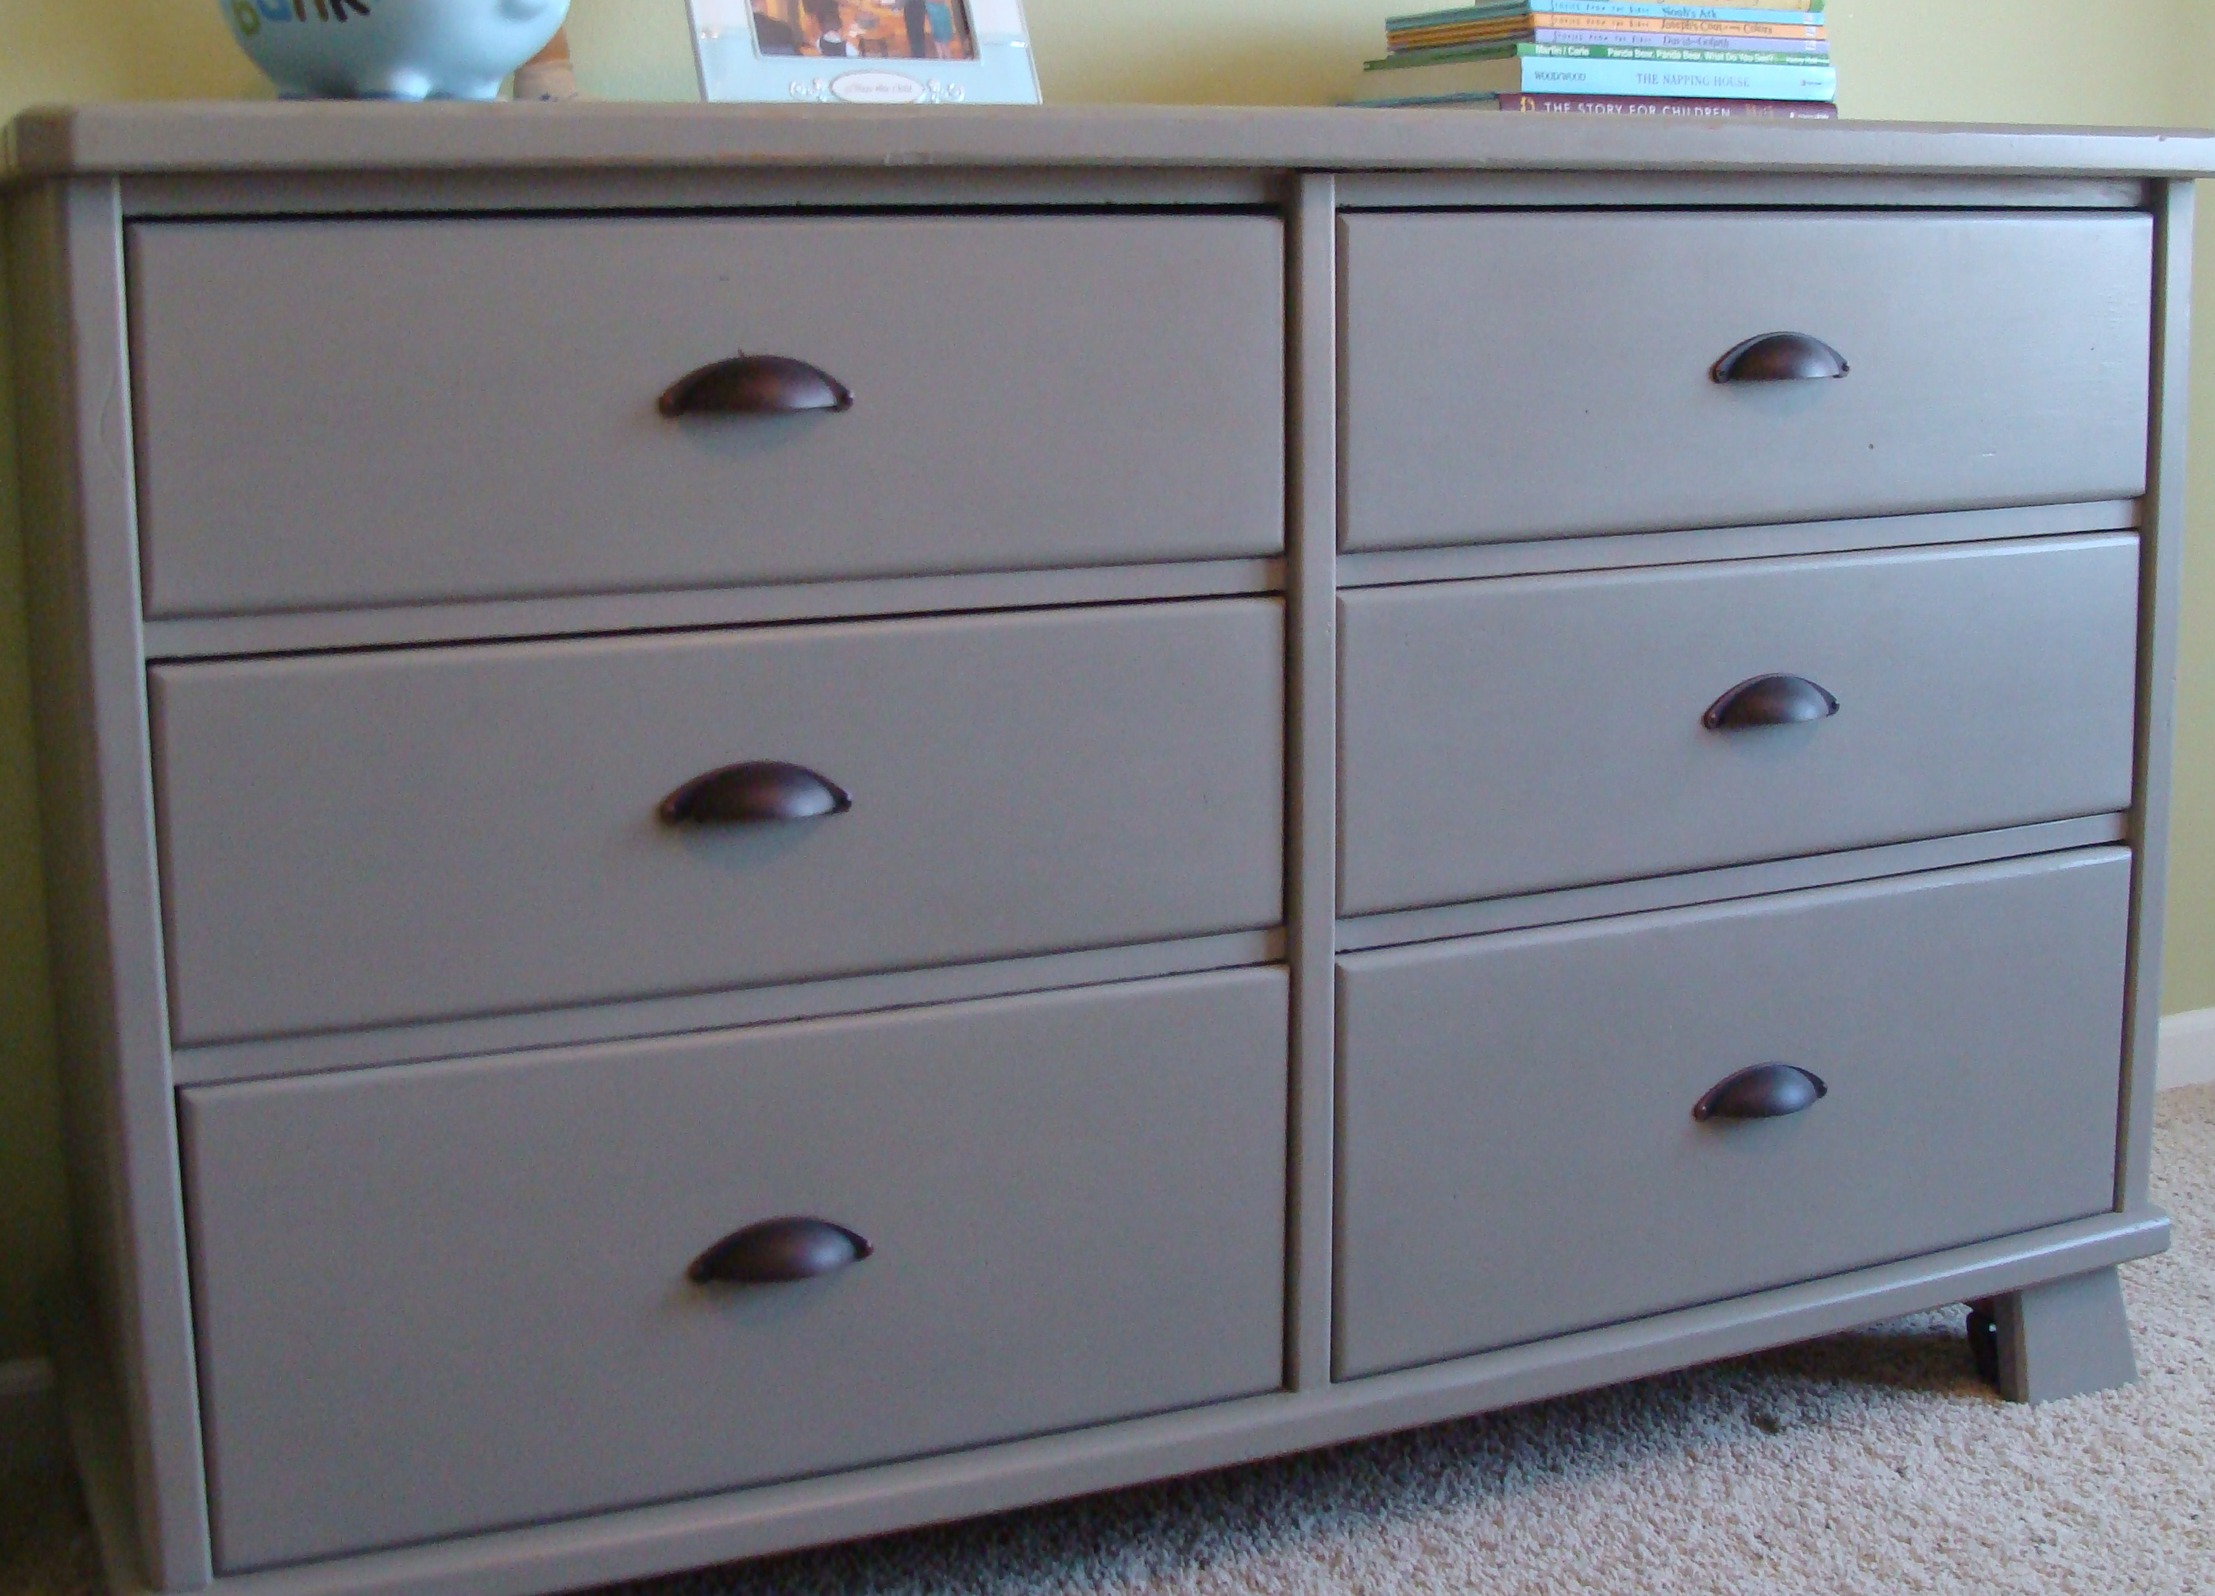
Now, I’m sure that if I had more carpentry skills I would have had an easier time with the pulls, but they were by far the most difficult part of the process! After measuring a million times and destroying the first drawer (luckily I was able to hide my errors and you can’t tell!) I got all of the pulls attached! So, drum roll please!!!! here is the new dresser!
I love that the chunky style, subtle details, and new nobs give it character in a very masculine way. This dresser with definitely grow with him!
And the before & after….

What do you think? Do you like it? Would you try the Annie Sloan paint? I have to say I would do it again because it is really so easy! I’m looking for my next project!
And as many of you who know me might guess, I had to go one step further and line the drawers – to protect those clothes my little man will be wearing! Again, I knew I didn’t want to spend a lot of money, so I looked at my usual locations (Target & TJMaxx) for some cute wrapping paper. I knew the contact paper I’d find would be too boring or too girlie. So I finally stumbled across some basic blue stripes, at the dollar store. Yeah! Love it when my favorite find is also the cheapest! I bought one roll, for yes $1, and didn’t even use half the role. Now the outside and the inside are nice and refreshed!

I’m so excited to have this dresser completed before the holidays! And at just under $100 for a 6 drawer dresser, I feel good about the minimal time and effort it took – except for those darn drawer pulls!! Joking!

On a closing organizational note, a neighbor came over to look at my dad’s work in our basement and the new dresser one afternoon. My house was quite messy (and she will attest to that!). We had a short conversation about the need to sometimes let your house go for a few days to get a project done. I don’t like my house in disarray, but I also don’t want to portray this false image that I can re-purpose an old dresser, while keeping my house in perfect order. If you have a big project you would like to do, but can’t find the time, take a couple days off from your norm. Let the house get messy, and order pizza for dinner! I know I can get my house back in order and the temporary chaos was well worth it!