I have the Christmas bug, do you!?!? Every year I struggle to think about Christmas, get a little annoyed by the Christmas merchandise in stores, avoid the looming deadlines of cards, and gifts…. and then it hits me… I’M OBSESSED!!! I absolutely LOVE Christmas, and once the bug strikes it is almost the only thing I think about! I have been on a mission… we are almost done decorating and shopping for gifts, and the crafting of our Christmas card is in full swing!
With all of this holiday cheer in my head, I was struck in church this Sunday by the enormity of the blessings God has granted me this year. Although there are many, you all are definitely one of them! I am amazed by the support of my family, friends and perfect strangers as I continue to pursue my passions in organizing and homemaking!
O.K…. I’ll stop the sappy stuff, but for real… I was holding back tears of gratitude on Sunday. And for those of you that know me, things that make me tear up are hard to come by!
So, my latest project has been a new dresser for Carter. I fixed up an old dresser for him about 5 years ago when I first did his big-boy room. HOLY COW! I had not done the math – he has been in his big boy room for 5 years!!! Honestly, I hadn’t thought about it until just now. Yowzah!!! Well that first dresser worked great for a long time, but the drawers are sticking more and more, and his clothes are just getting too darn big!
As always, I didn’t want to invest in an expensive dresser – so I stared stalking Craigslist. For those of you that wonder how I find good stuff on Craigslist, I honestly stalk the site until I find what I want. Say I want a 6-9 drawer dresser for about $30-40, I plug dresser in to the search at least 3 times a day and see if anything new comes up. When I find what I want I snatch it immediately, or the good stuff is gone. So, after a little stalking, this is what I found…

Not feeling it? Just wait…. you have to get past the ugly and see the potential. (It does have all of the drawers, I just forgot to take my before picture “before” I started getting to work again!) When I’m looking for something that I am going to paint, it’s fine if it is a little beat up, scratched and rickety – actually that’s better because that’s what makes it cheap! I also don’t worry about drawer pulls, I almost always replace those anyway – they can totally transform a piece. I do look at the lines, this is most important and impossible to change. If a piece is for a boy it needs to be bulky and have straighter lines. If it is for a girl, curvy lines and feminine details are what I look for. However, even if it is for a boy it is always important to get a piece that has some character of its own. Look at these three pieces….
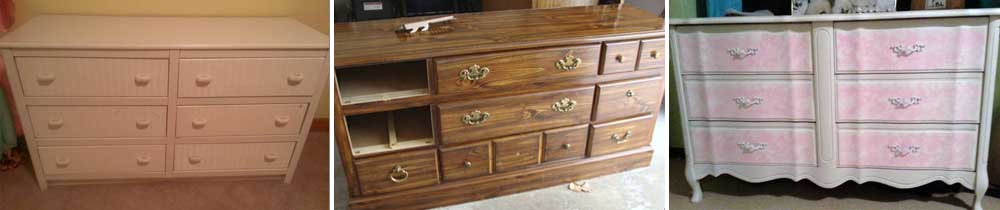
This first one is just flat, no character, no dimension, just plain. No matter what color I paint that dresser it will still be boring. Now look at the one in the middle that I picked for Carter… the drawers come out from the face of the dresser, the base has a bit of a “platform”, and the sides of the dresser have a slightly bulky edge. There isn’t a ton of detail, but just enough to be masculine with areas to add character once it is painted. The one on the right would be perfect for a girl. See how the lines are more curved and there are details that make it look feminine and pretty?
So, I chose this dresser about 15 minutes after it was posted to Craigslist, had my hubby pick it up the next morning, and then inspected it and got scared! I didn’t realize that there were extra holes in the drawers from not-so-careful replacement of broken drawer pulls. Two drawers also didn’t work and the surface was obviously a laminate veneer. Hmmm – not ideal! So, I started my slightly bigger than intended job of overhauling this beast… to make it a beauty!!
I started by removing all of the hardware and patching the holes. I decided that if I was going to have to patch some holes, I might as well patch them all and have the flexibility to purchase new pulls in any size or shape. I used a little trick my dad had taught me when our front door fell off its hinges. (yes, really happened… our front door literally fell off the hinges..another story for another time)
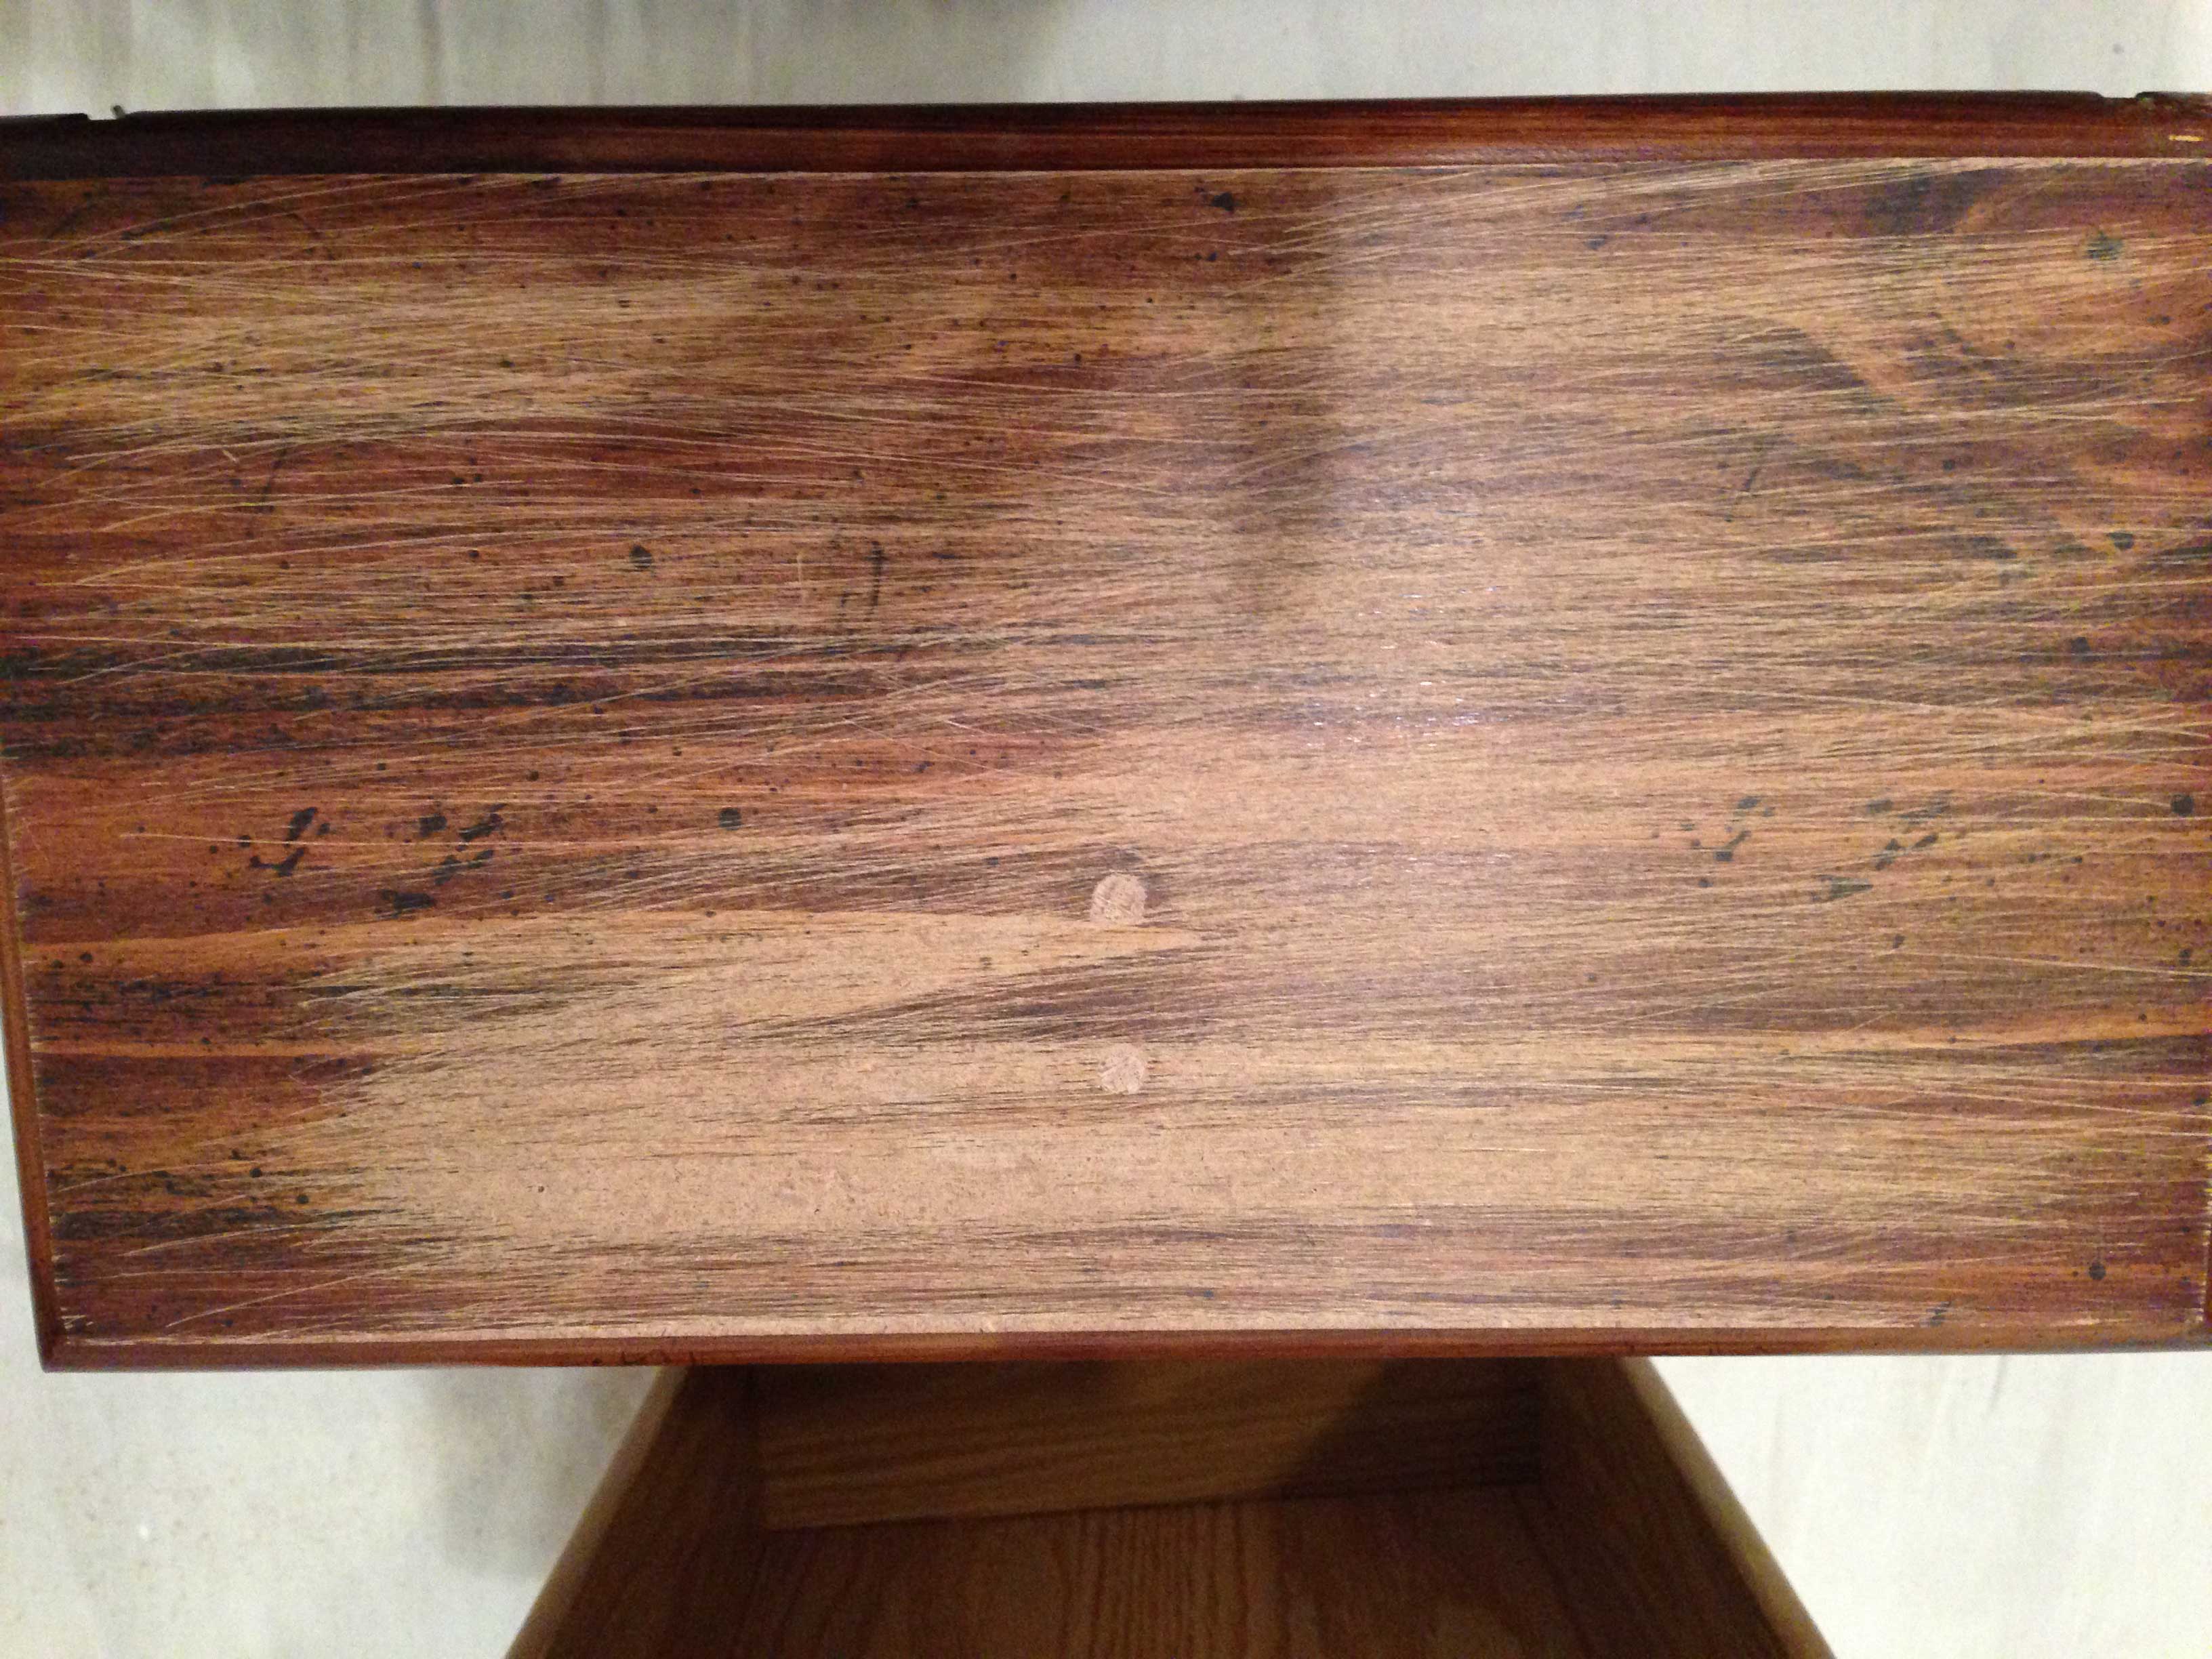
I bought a dowel that would fit snugly in the holes and cut it into small pieces, about 3/4″ each. I then put wood glue in the hole and pounded the dowel into the hole with a rubber mallet. After the glue dried for about 30 minutes, I used wood filler to fill any remaining cracks and let it dry overnight. This way the holes won’t show, and I knew it would be strong enough if I needed to drill through one of those areas for my new pulls.
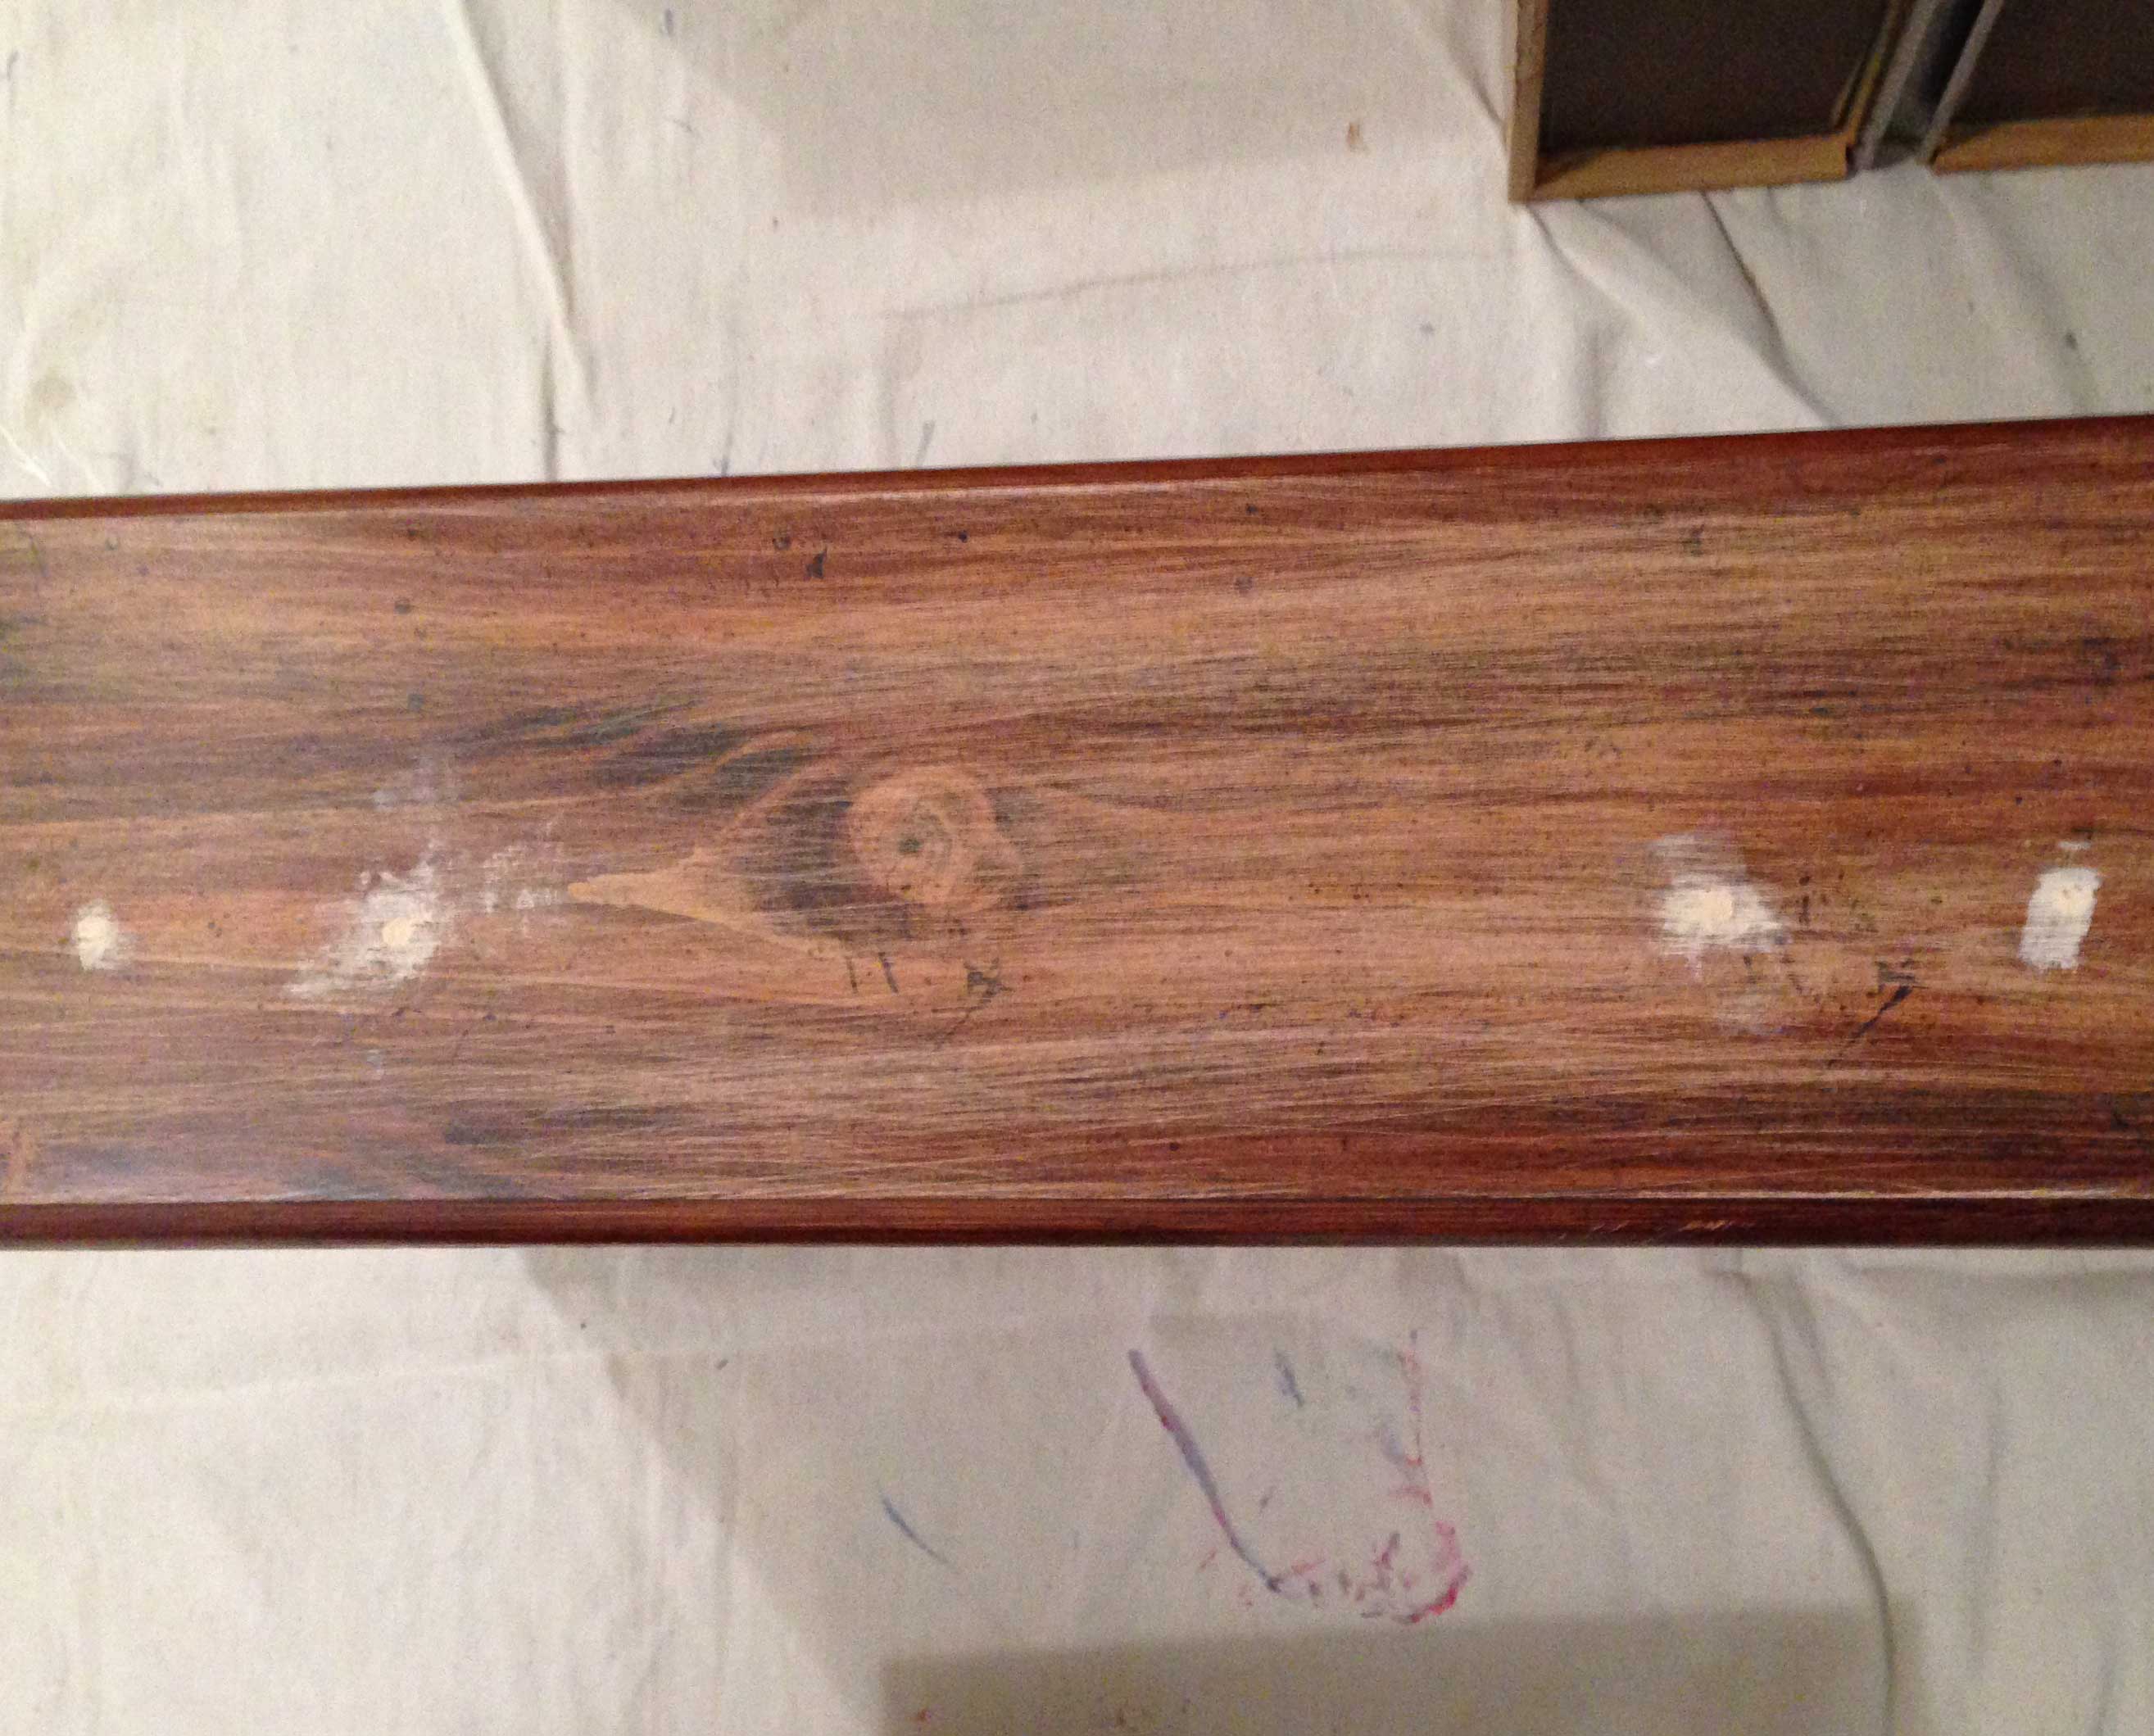
I then used fine sandpaper to smooth out the wood filler, dowel and glue. You can still see the holes, but I knew the color variation would be easily hidden with a little Annie Sloan Chalk Paint!!!
I then painted the entire dresser with two coats of Annie Sloan Chalk Paint in Emperor Red and then used one coat of clear wax. This took one day, just a few hours at most. For more details on using Annie Sloan Chalk Paint, check out this post, where I explain the process in detail.
Next, I needed new hardware. With the way some drawers were divided on the face to look like two or three individual drawers, I needed a lot of pulls! I wanted to keep this project cheap, so I decided to spray paint the round knobs that came with the dresser and only replace the ones that were obviously from the 70’s!
Here’s my little trick when painting drawer pulls….
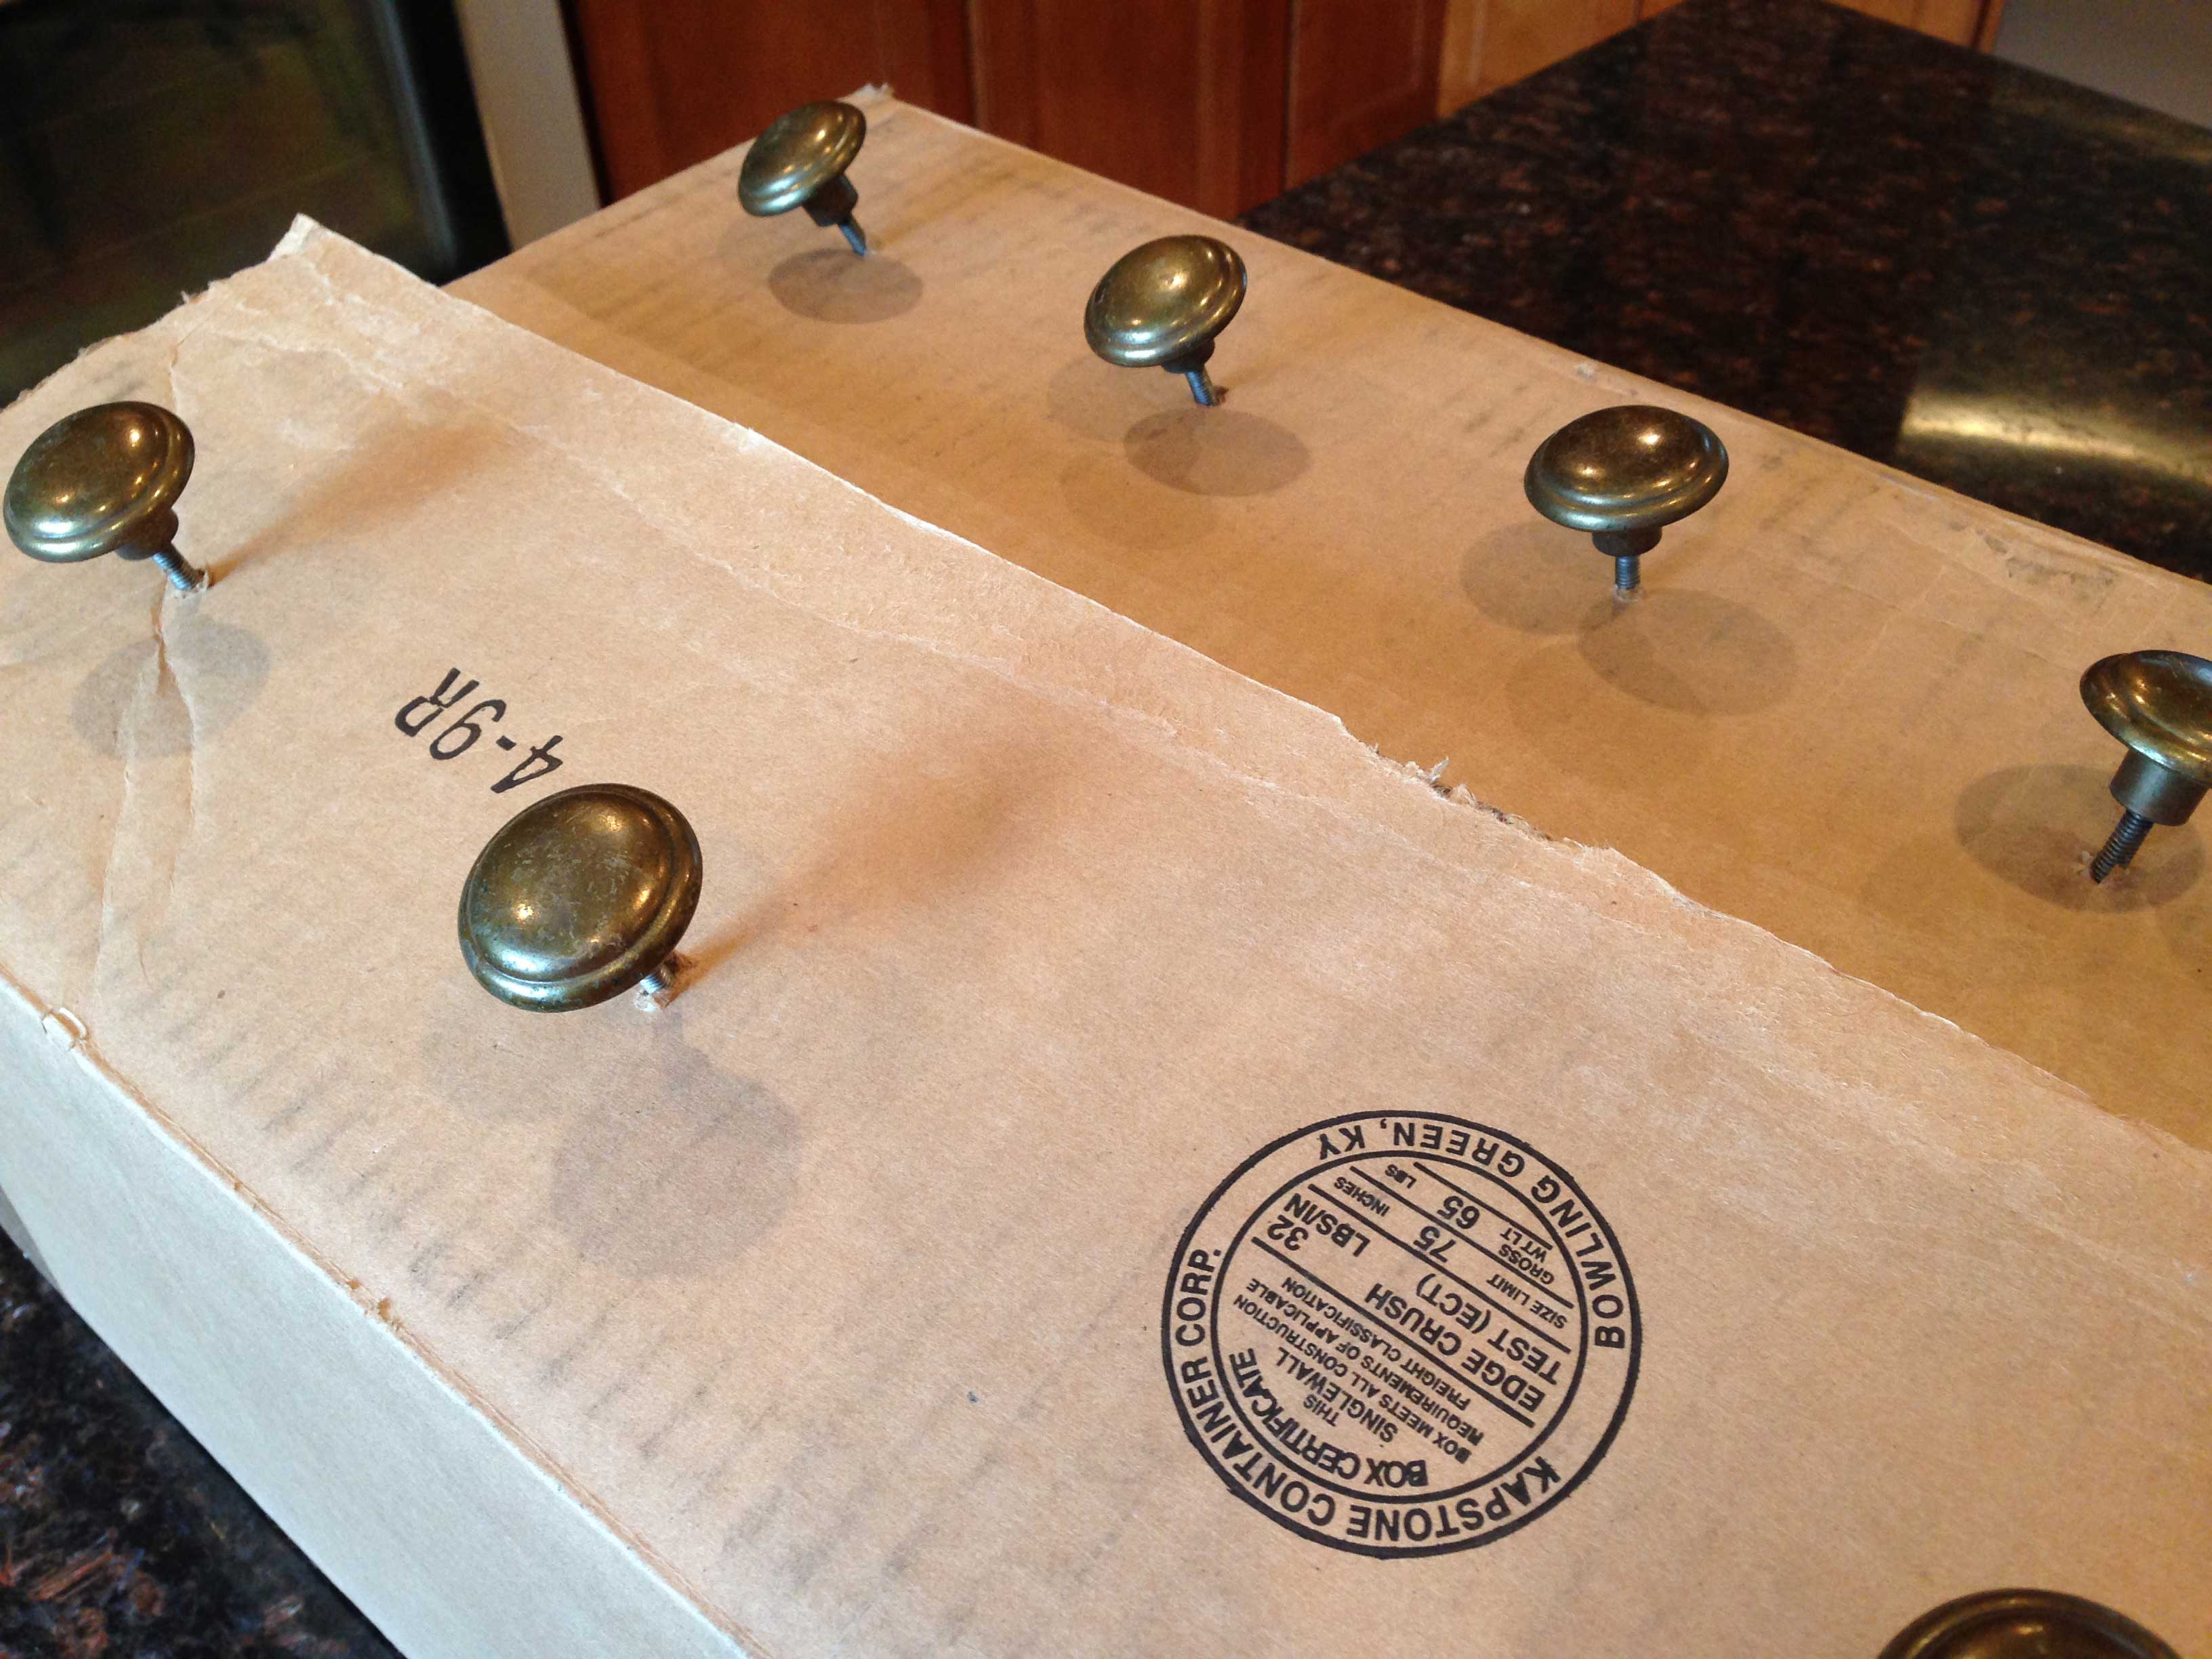
…use the screw that comes with the pull to put them through a box lid so they stand up and you can paint the whole pull in one shot. I did 3 quick coats of black spray paint (because I chose black for the new pulls) and was done!
Next came the installation of the new pulls, YUCK! If you read my post on changing out drawer pulls on Jase’s dresser you might remember that it was about the end of me. So, I thought things through a little better this time, and it was SO much better.
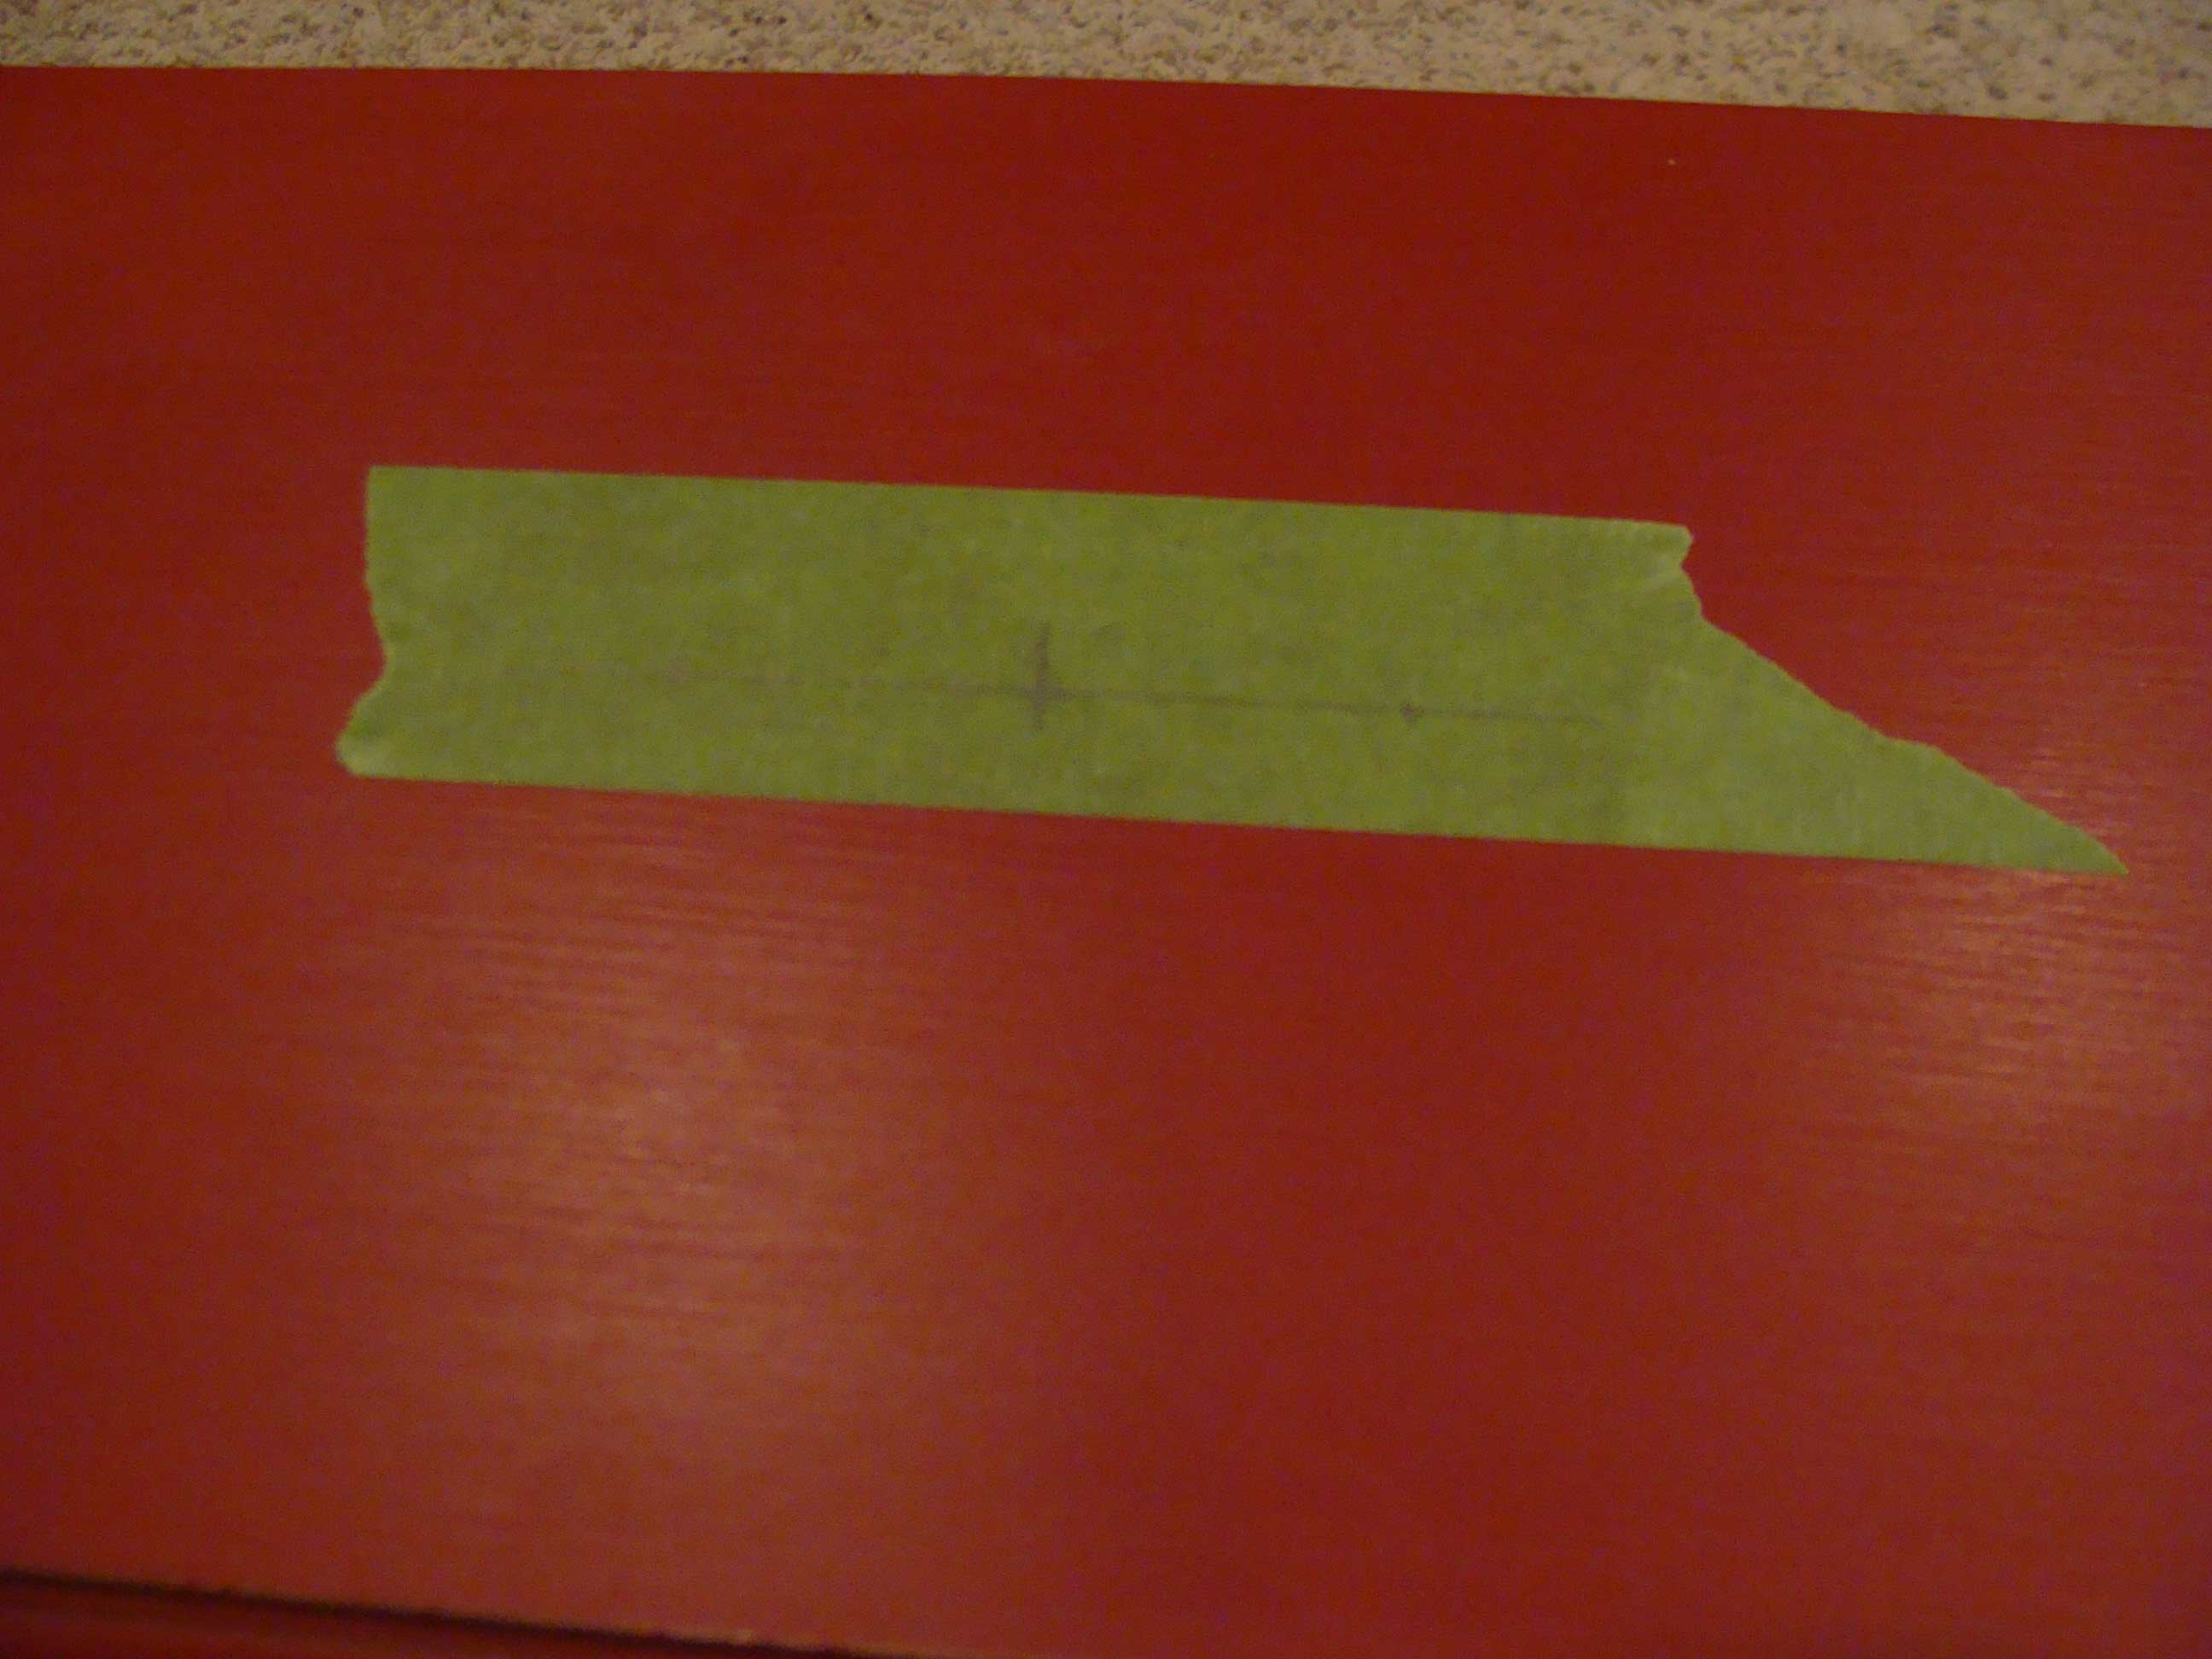
I started by putting a piece of Frog Painter’s Tape on the drawer so I could mark measurements clearly and make sure everything would be straight. I found where I wanted the center of the pull to be, both horizontally & vertically – the point at which my two lines intersect. I made the horizontal line extra long, so my screw holes could be centered on that line.
I then did something that I think was genius – not to toot my own horn, but it worked fabulously! I ran one of my 4×6 laminating sheets through the laminating machine to make a stiff, clear sheet. I then marked the holes of my drawer pull on the laminated sheet and used a hole punch to punch holes where the screws would go. I was able to test my holes with the pull to make sure it was exactly right. I also used a green sharpie to mark the center between the two holes.
I then lined up the center green mark on the laminated sheet with the vertical center I had marked on my Frog tape. I made sure my punched holes were centered on my horizontal line drawn on the Frog tape and marked the center point where each of my screw holes should be.

I then pre-drilled my holes, right through the Frog tape. Using the clear laminated sheet allowed me to see the measurements and markings on the Frog tape underneath, know the exact distance between the screw holes, and the center point of my pull all at the same time. It was super easy!!! This method would work good on cabinetry or anywhere you are installing pulls.

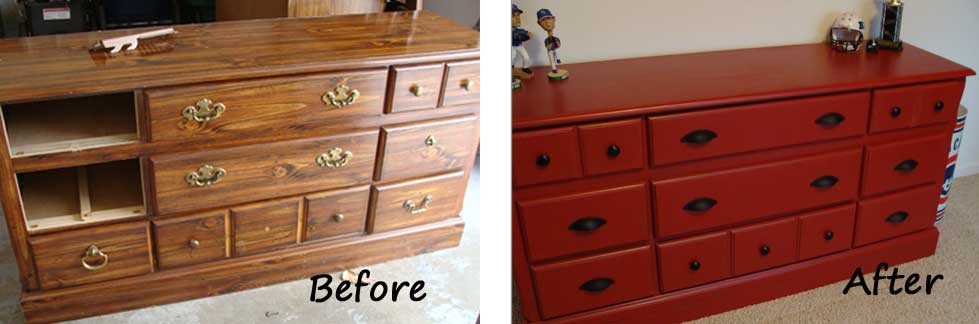
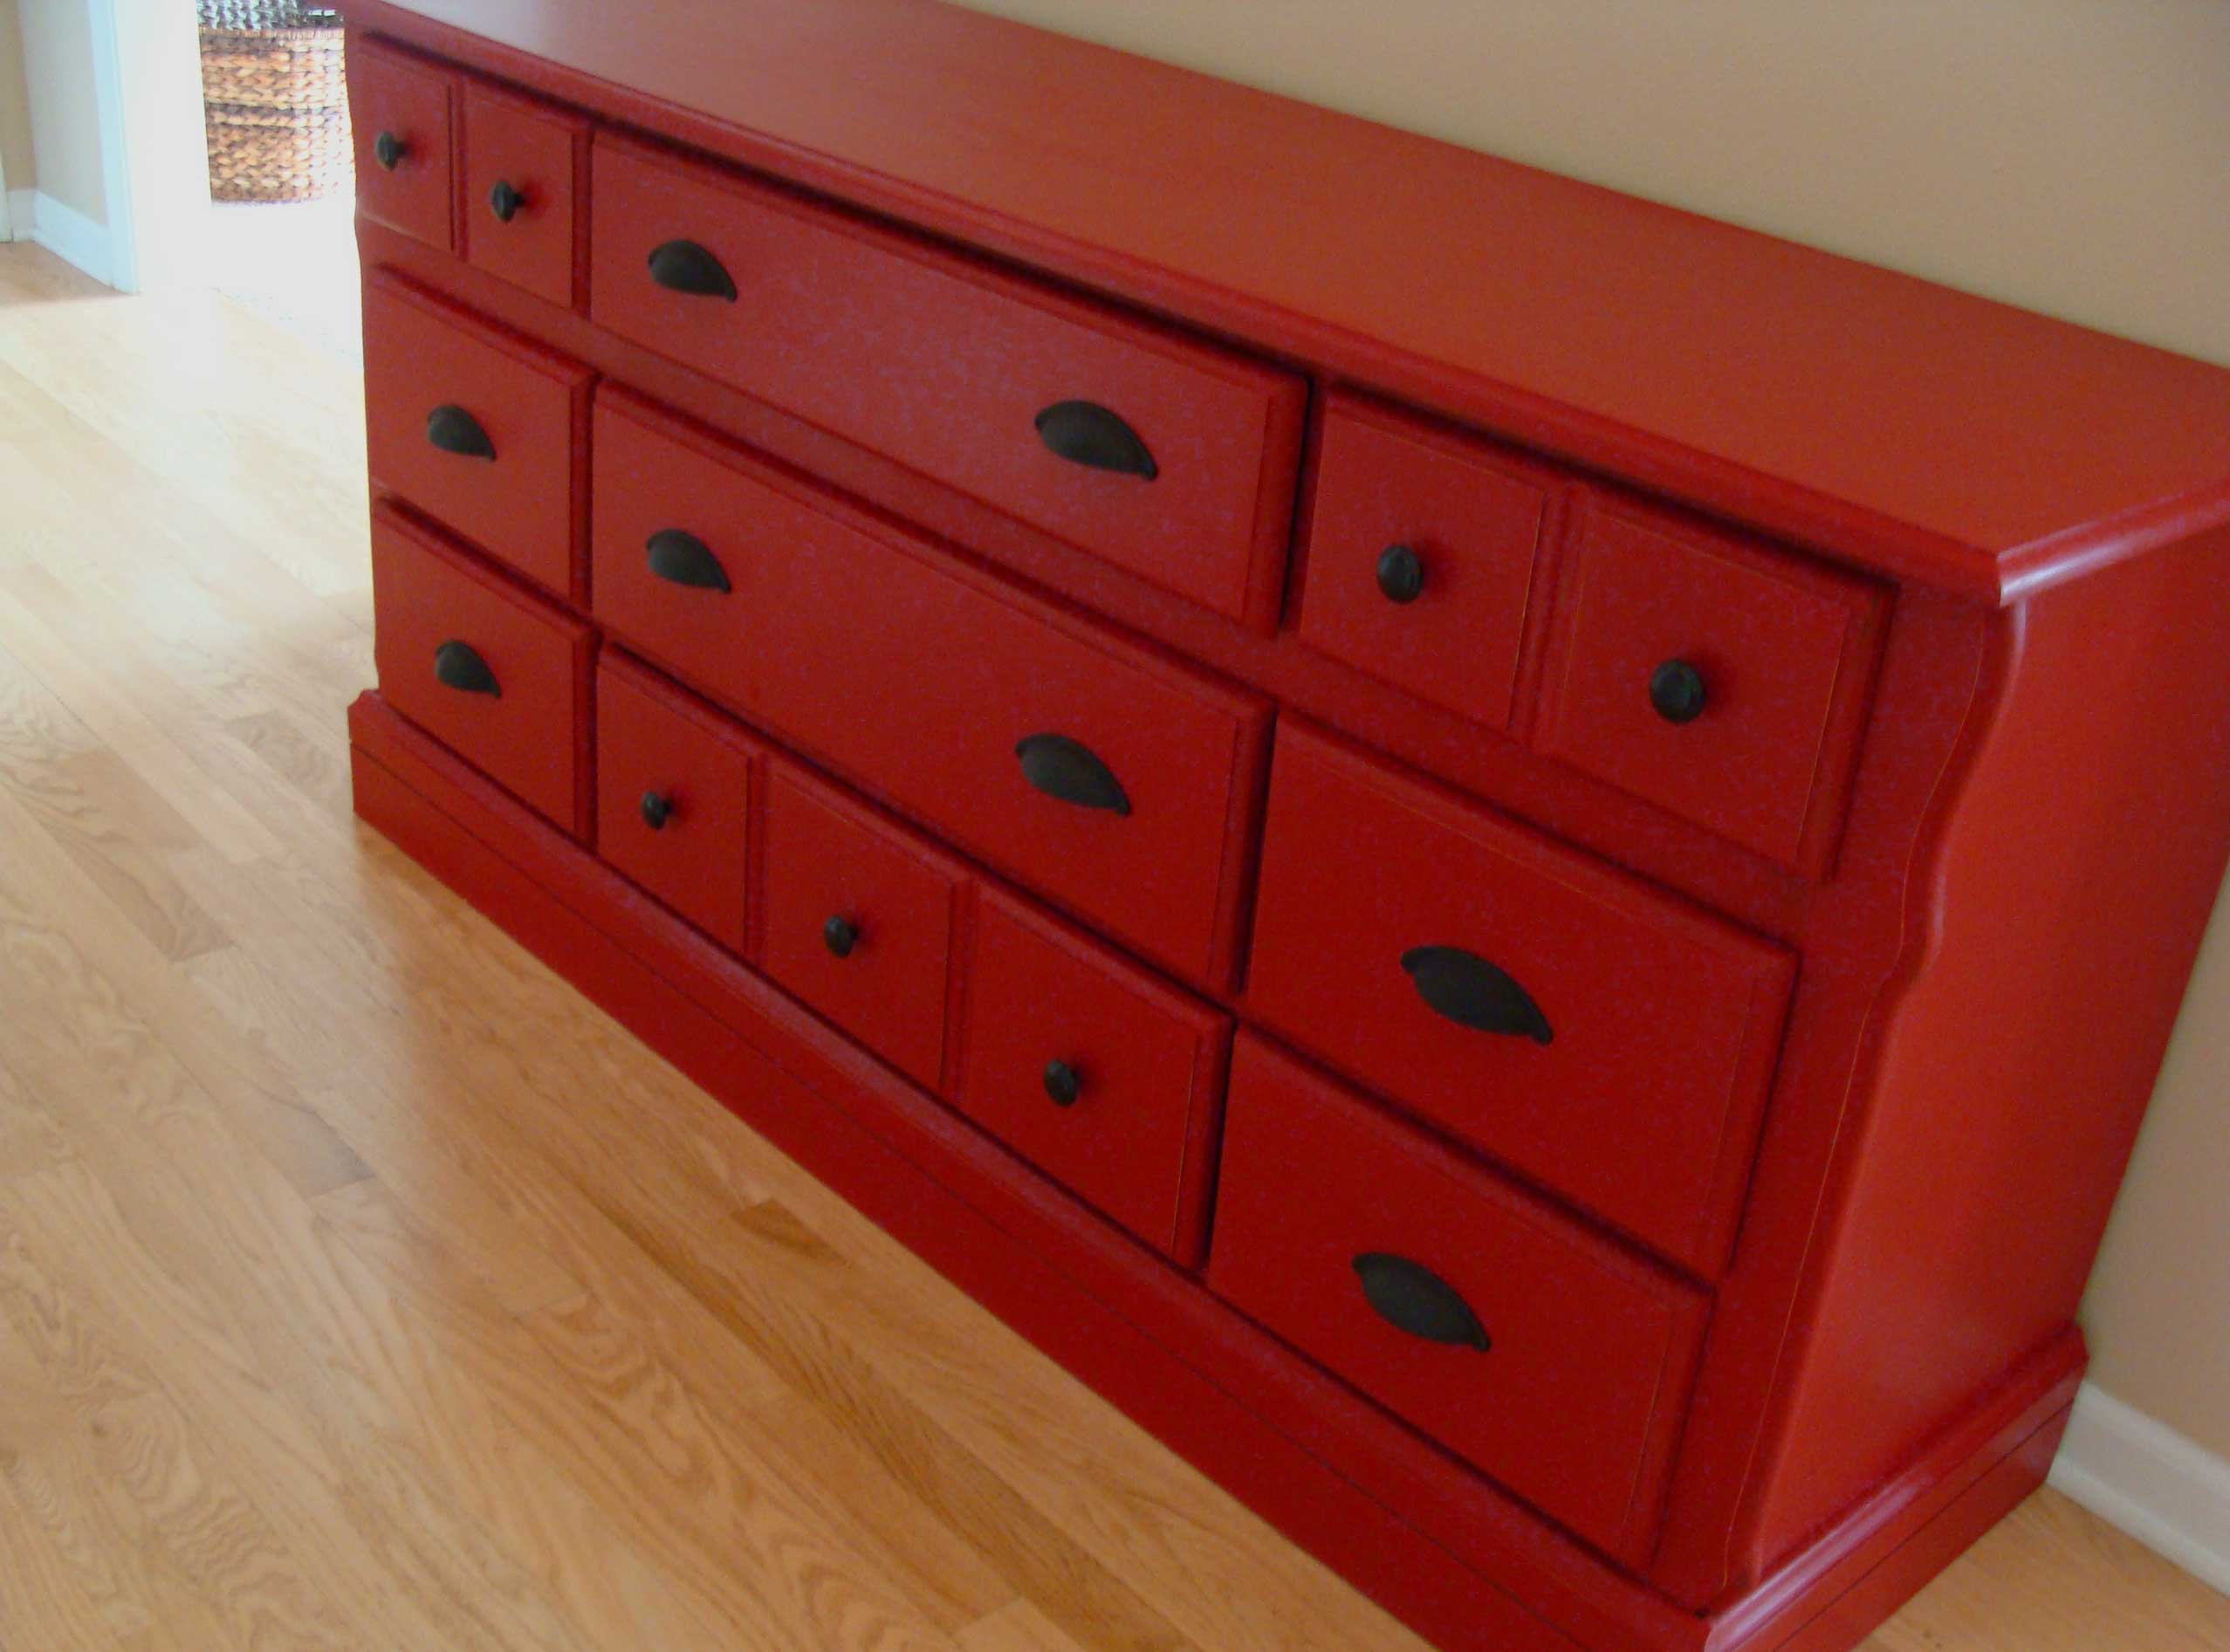
So, after all that patching, repairing, painting and new pulls here he is….
Of course I had to line the drawers to make it look a little nicer, and add a layer between Carter’s clothes and the used dresser drawer. I found this super durable wrapping paper at TJMaxx, and the blue and red are perfect for my son’s Chicago Cubs themed room.
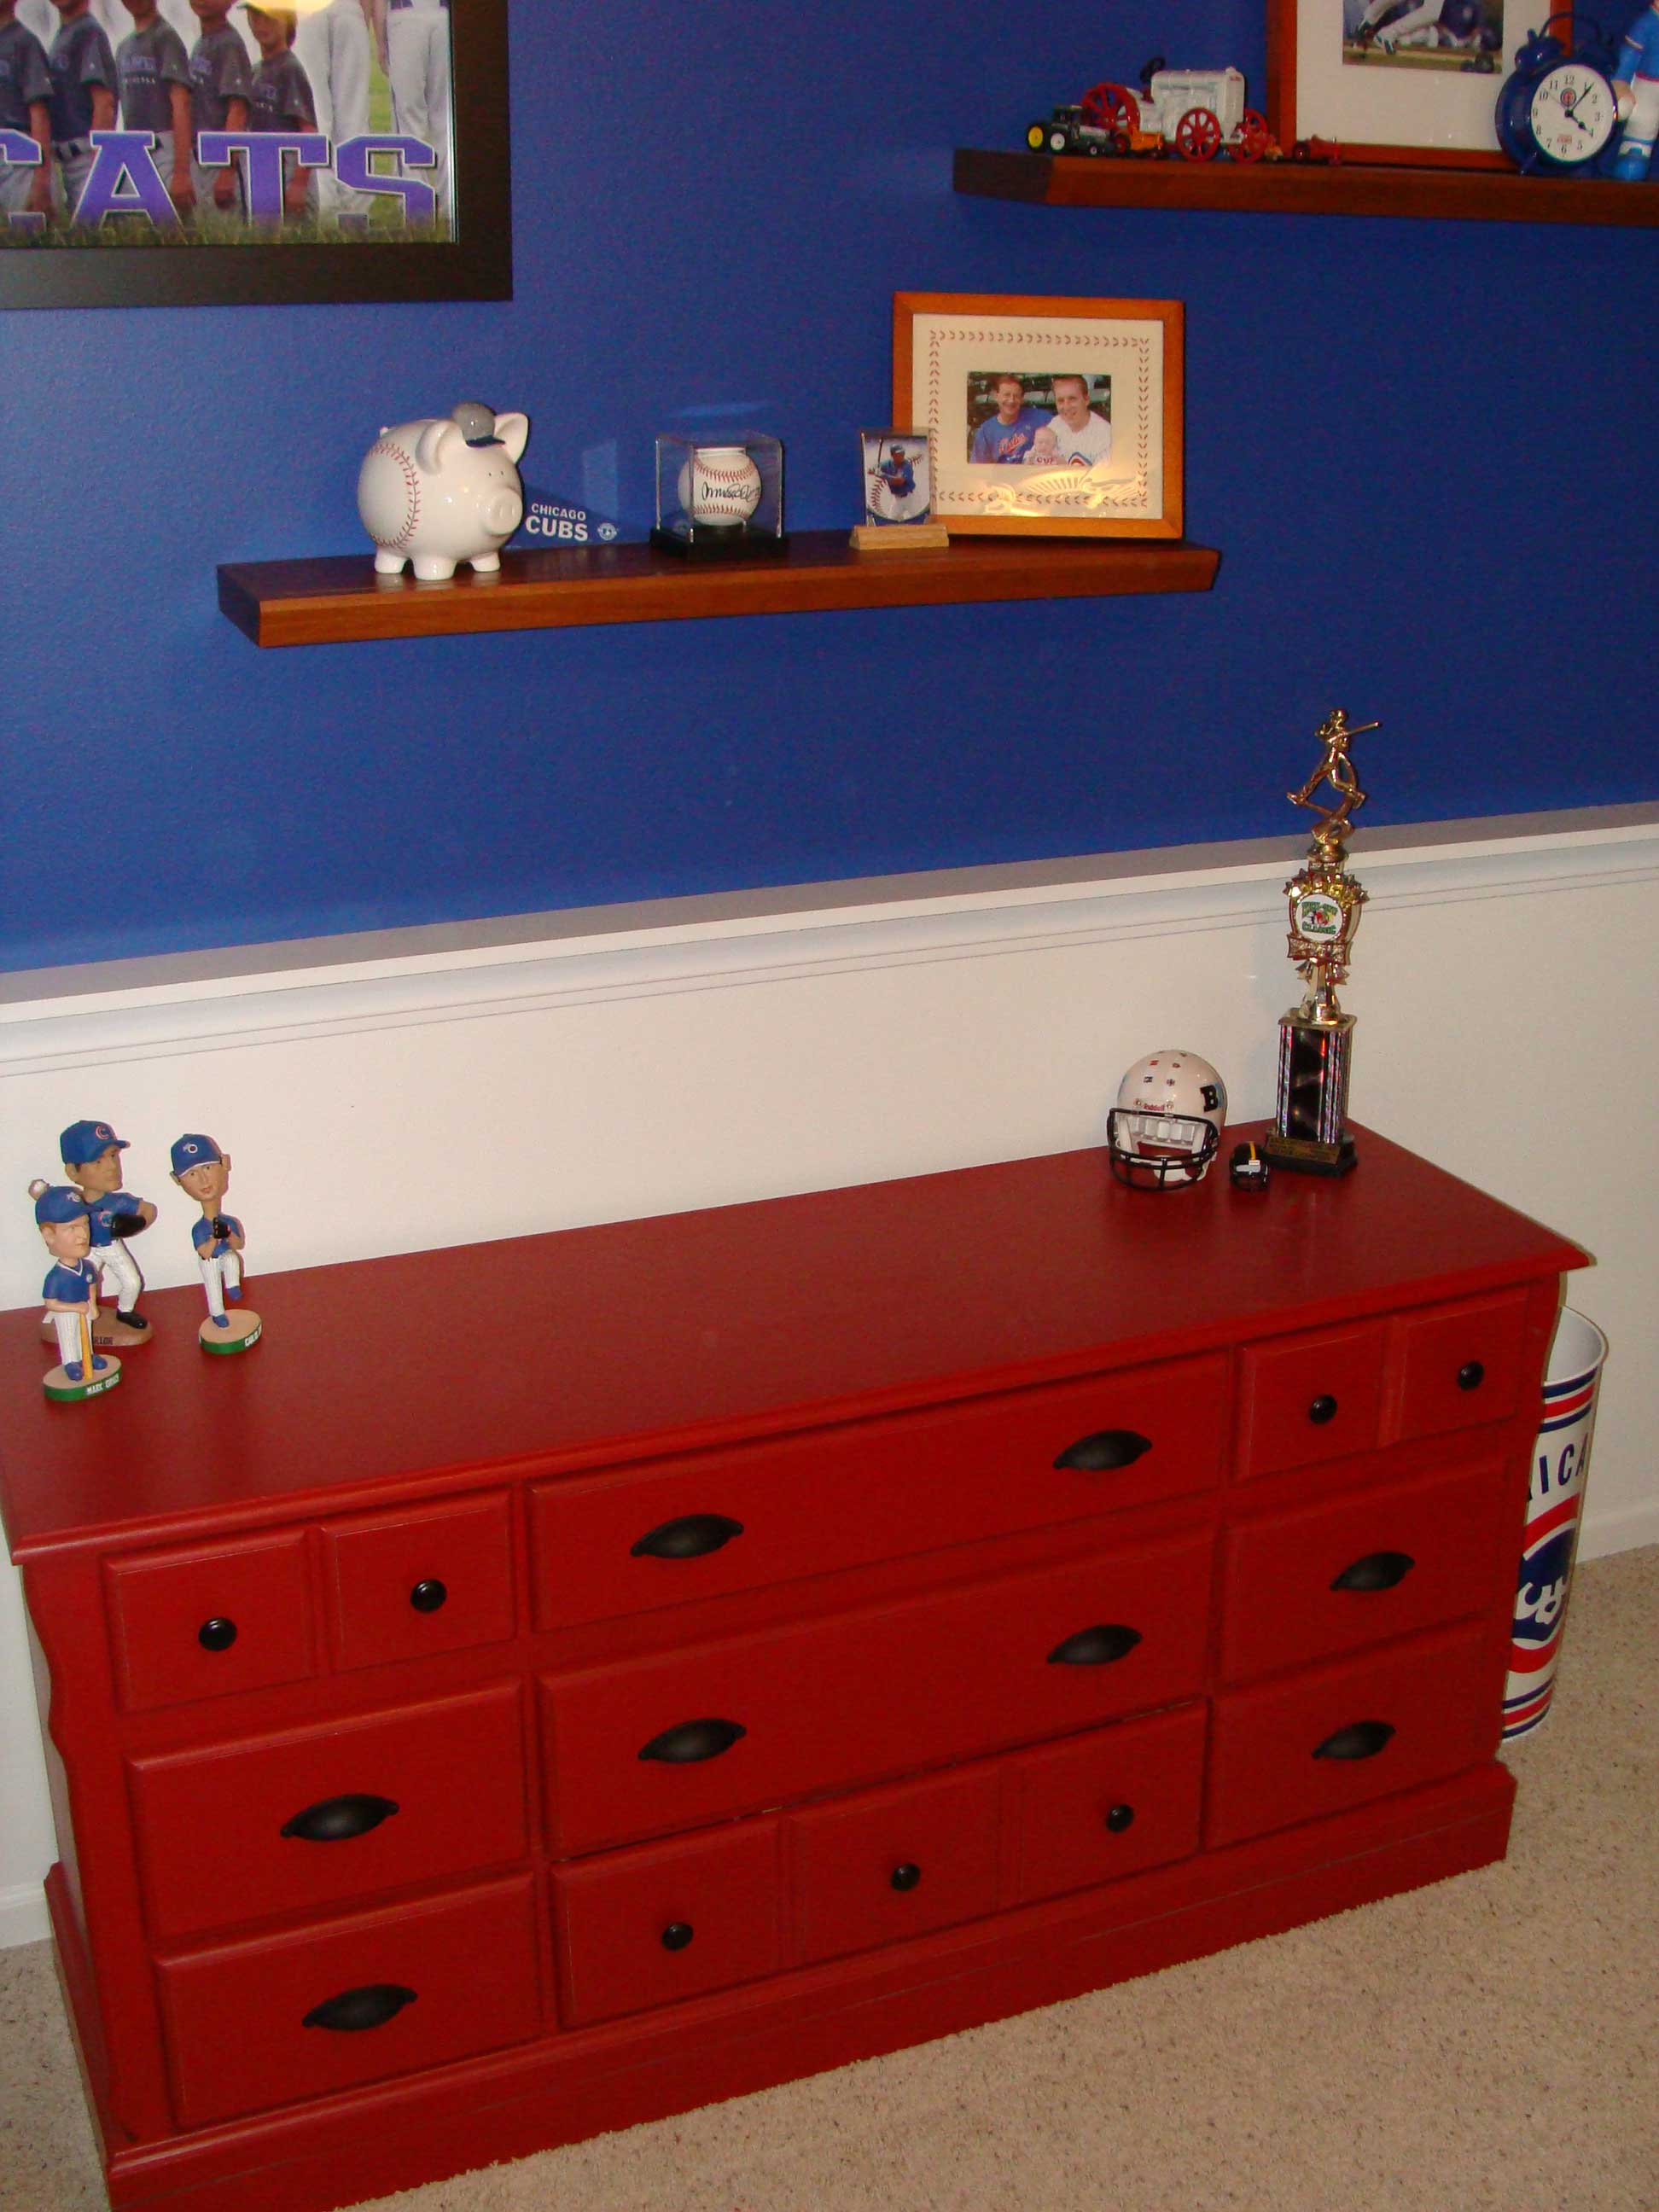
And here it is in his room, with all of his Cubs and baseball memorabilia – he is so his father’s son! I probably need to put a little more thought in to accessorizing the top of his dresser, but I also want it to be a place for him to display things he is proud of – like his first ever baseball trophy! Sometimes it is hard to find that balance between what I want his room to look like, and letting it be HIS room. As long as things are taken care of and it is tidy, I try not to be over controlling!
And here is the before and after…. was it worth it? Carter thinks so, which makes me a happy momma! Our super nice neighbor helped carry it upstairs last night and Carter was super excited – that’s all I needed!! Never mind I love it too! 🙂