
This has been such a fun summer for me… enjoying lazy days with my kids, baseball games, the beauty of Colorado, late nights, and WAY too much ice cream! I’m pretty sure I’m not the only one that can’t believe summer is almost over. Maybe the heat will last a little longer, but the carefree days of no school and no schedule are disappearing. My kids start school next week!
Honestly, I’m a little happy and a little sad. I have loved my kids being home with me and have thoroughly enjoyed all the fun we’ve had. I will miss sleeping in and eating breakfast at 10:00am! However, I am also anxiously awaiting the opportunity to return to a schedule of some kind, and I keep telling myself I will knock off the items on my “to do” list and get everything in order as soon as school starts.
I know some of you have visions in your head of my home being magically in order at all times. In reality, I let things go a bit in the summer just like every other good mom. 🙂 You know that great system of sorting and storing my kids school work I have told you about, well the papers from the last three months of the last school year are still in the letter files in my laundry room! I haven’t cleaned out their school files in my office to make room for the flood of paperwork that is soon to come for this year, and I didn’t have my kids do nearly as much “home-school” this summer as I planned twelve weeks ago. Over the last three months my house hasn’t been “deep-cleaned” once, and my work-out schedule has well, not worked out.
I’m not confessing all of these deficiencies in fear of someone finding these things out during an unannounced visit. I have talked with many of you, and I hope my reality relieves a little of your guilt and stress. We all feel at least mildly out of control by the end of summer, that’s why it is so much fun! Don’t regret it now, enjoy the last days or weeks of summer you have with your kids – happily oblivious to the work that awaits us when they are in the hands of their teachers!
Despite all of the craziness this summer, one of only a few areas that I did make progress on over the last few months was Jase’s room. So, I’ll return to the topic of my previous post – painting stripes in Jase’s room.
As I explained in my last post, I was a little timid about actually starting this painting project; but I was also REALLY anxious to see it done!
A quick review… I had decided on using the paint color Naval by Sherwin Williams to paint 12 inch horizontal stripes on one wall.
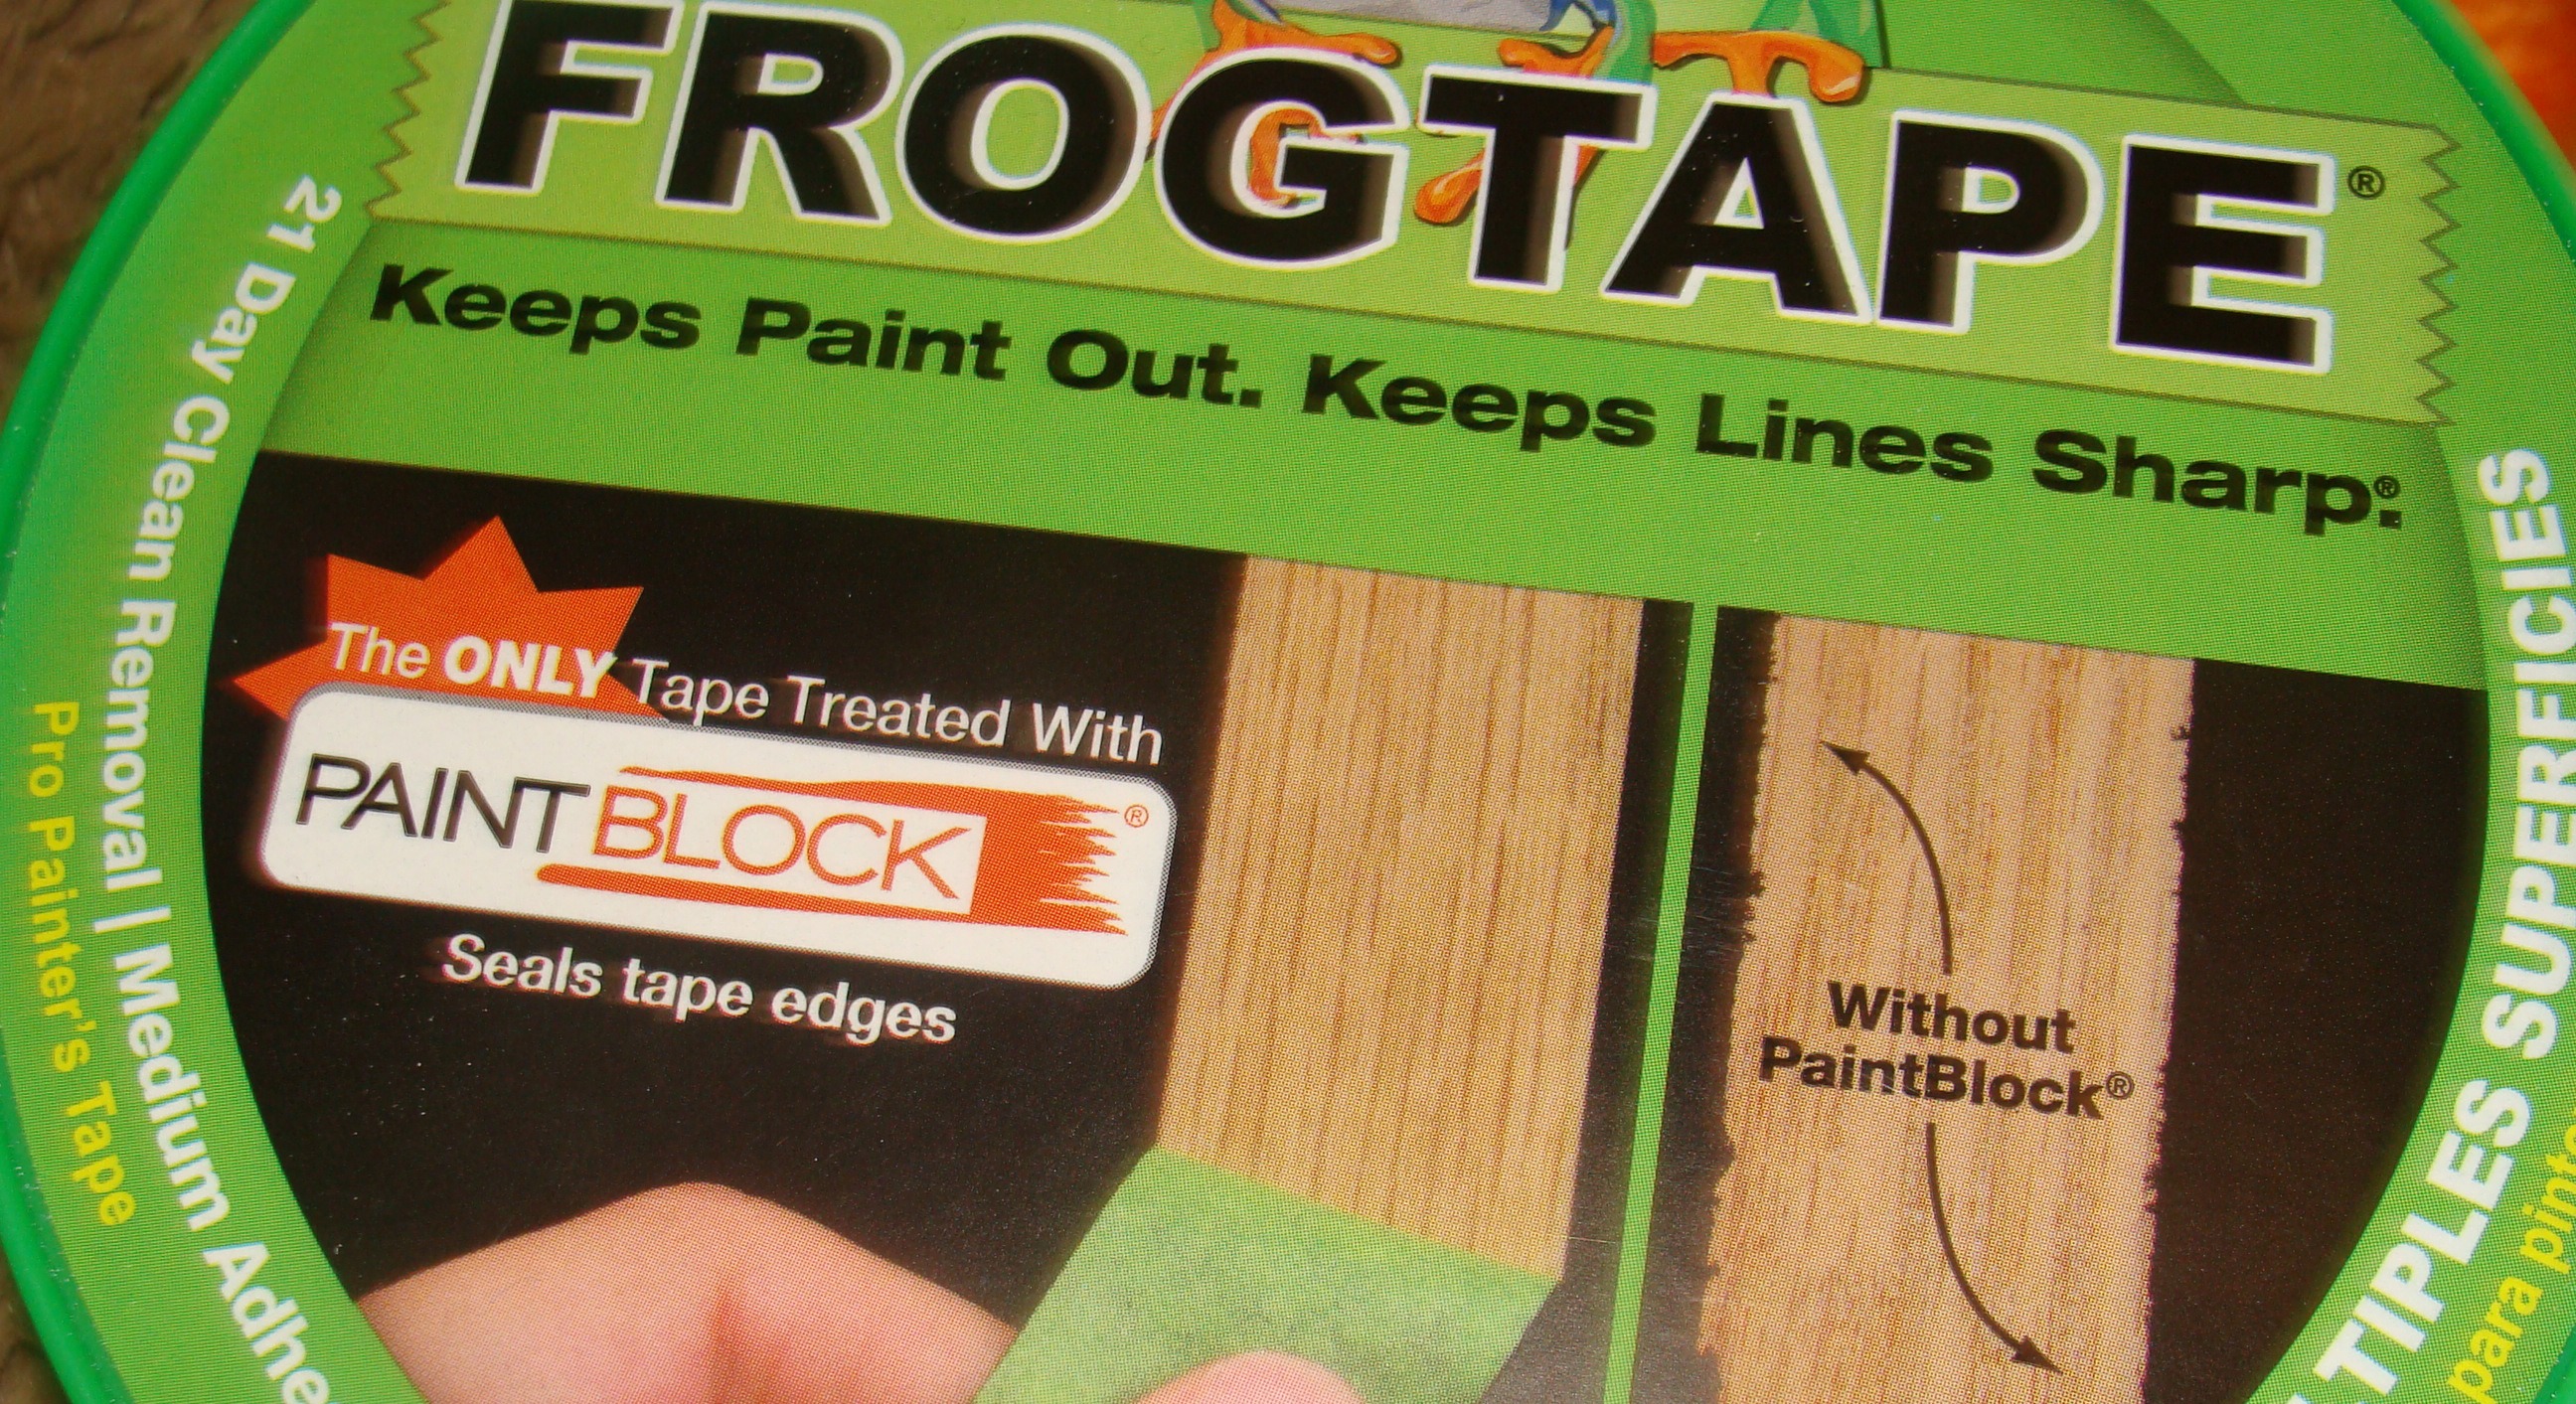
My basic approach came from information I’d gathered from other blog posts, my friend and other websites. Upon the recommendation of my friend that had undertaken a very similar project a couple of months before, I decided I would use a laser level to get the lines straight, and Frog tape to hopefully avoid the paint bleeds I was terrified of with my super dark blue color choice.
I began by measuring and marking 12 inches down from the ceiling in four places along the wall. I wanted a frame of reference when using the laser level, but knew my measurements might not be exactly level – unless the guys that did our framing and drywall were really good! I decided to measure from the ceiling down, because I knew the trim at the floor would leave me with one stripe a few inches shy of my desired 12 inches. I wanted that slightly smallest stripe to be the lowest stripe on the wall, to make it the least noticeable. I continued measuring down every 12 inches to mark where my tape would start and end on the wall.
With Jason’s help, we then stretched a piece of tape across the wall at the measured heights. This seems like this would give you a good line, but it is im-poss-i-ble!! to pull the tape tight enough and level enough that the line would be anywhere near straight. We didn’t press the tape firmly against the wall, so I could make adjustments to level it.
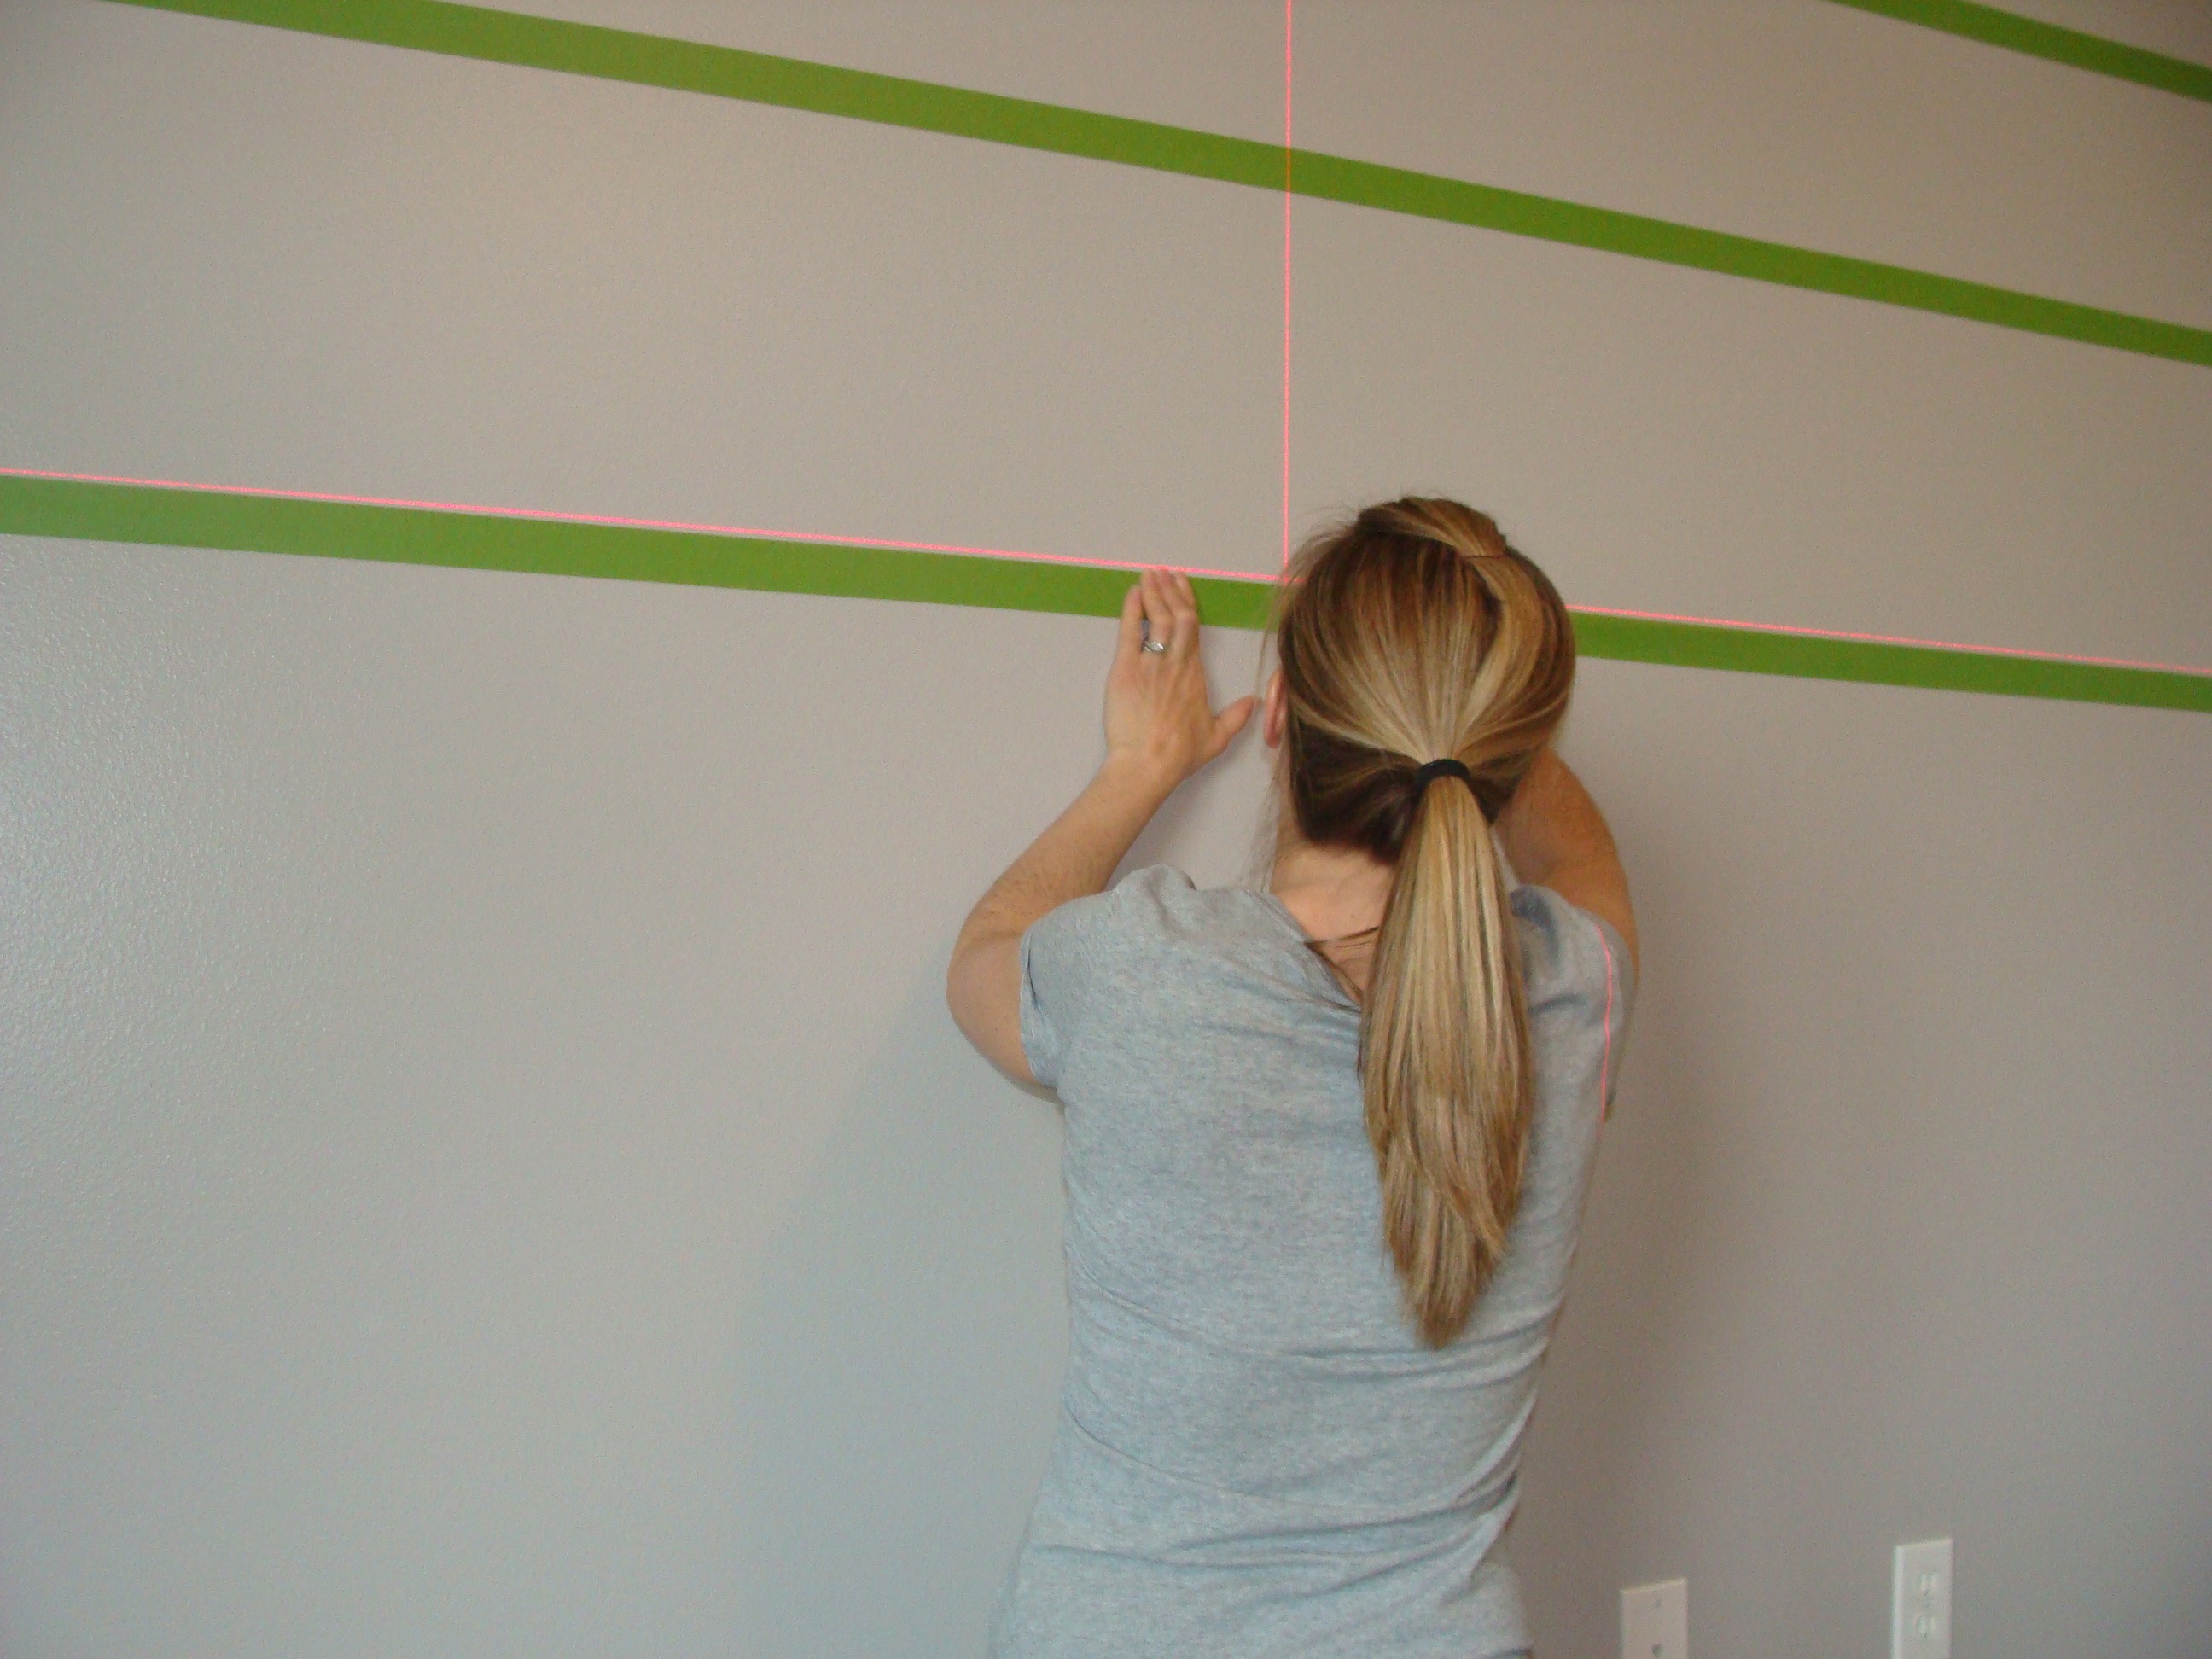
You can see the laser lines on the wall – let me just say I would never have finished this project without the laser level. I would have lost my mind measuring and re-measuring and re-measuring to still not be straight! With the level I simply started on the left side of the wall and moved the tape up or down to run perfectly along the red level line.
Between each tape line I would measure the distance between each piece of tape as well to keep things on track and ensure my original measurements were accurate.
I also had to alternate my tape sitting above or below the 12 inch measurement to make sure that my blue stripes were all 12 inches wide. If you only placed your tape above the measured point, or below the measured point you would end up with uneven stripes due to the wall space covered by the tape.
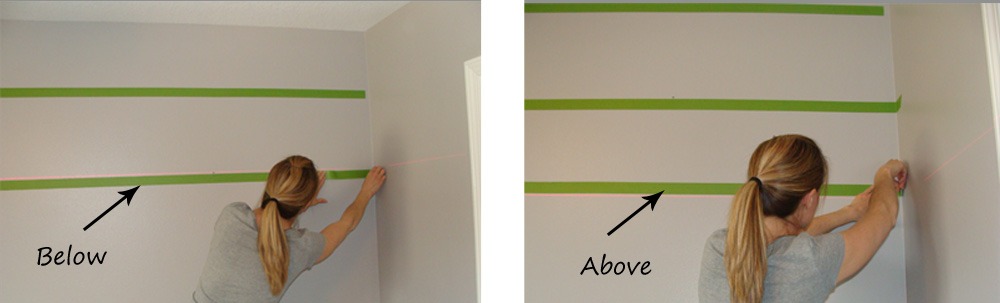
You can see in the picture on the right how the tape ends up in the space of the wall that will remain gray, and is not getting painted. The wider space in the picture on the right will be painted blue, and when the tape is removed both stripes will be an equal 12 inches wide.
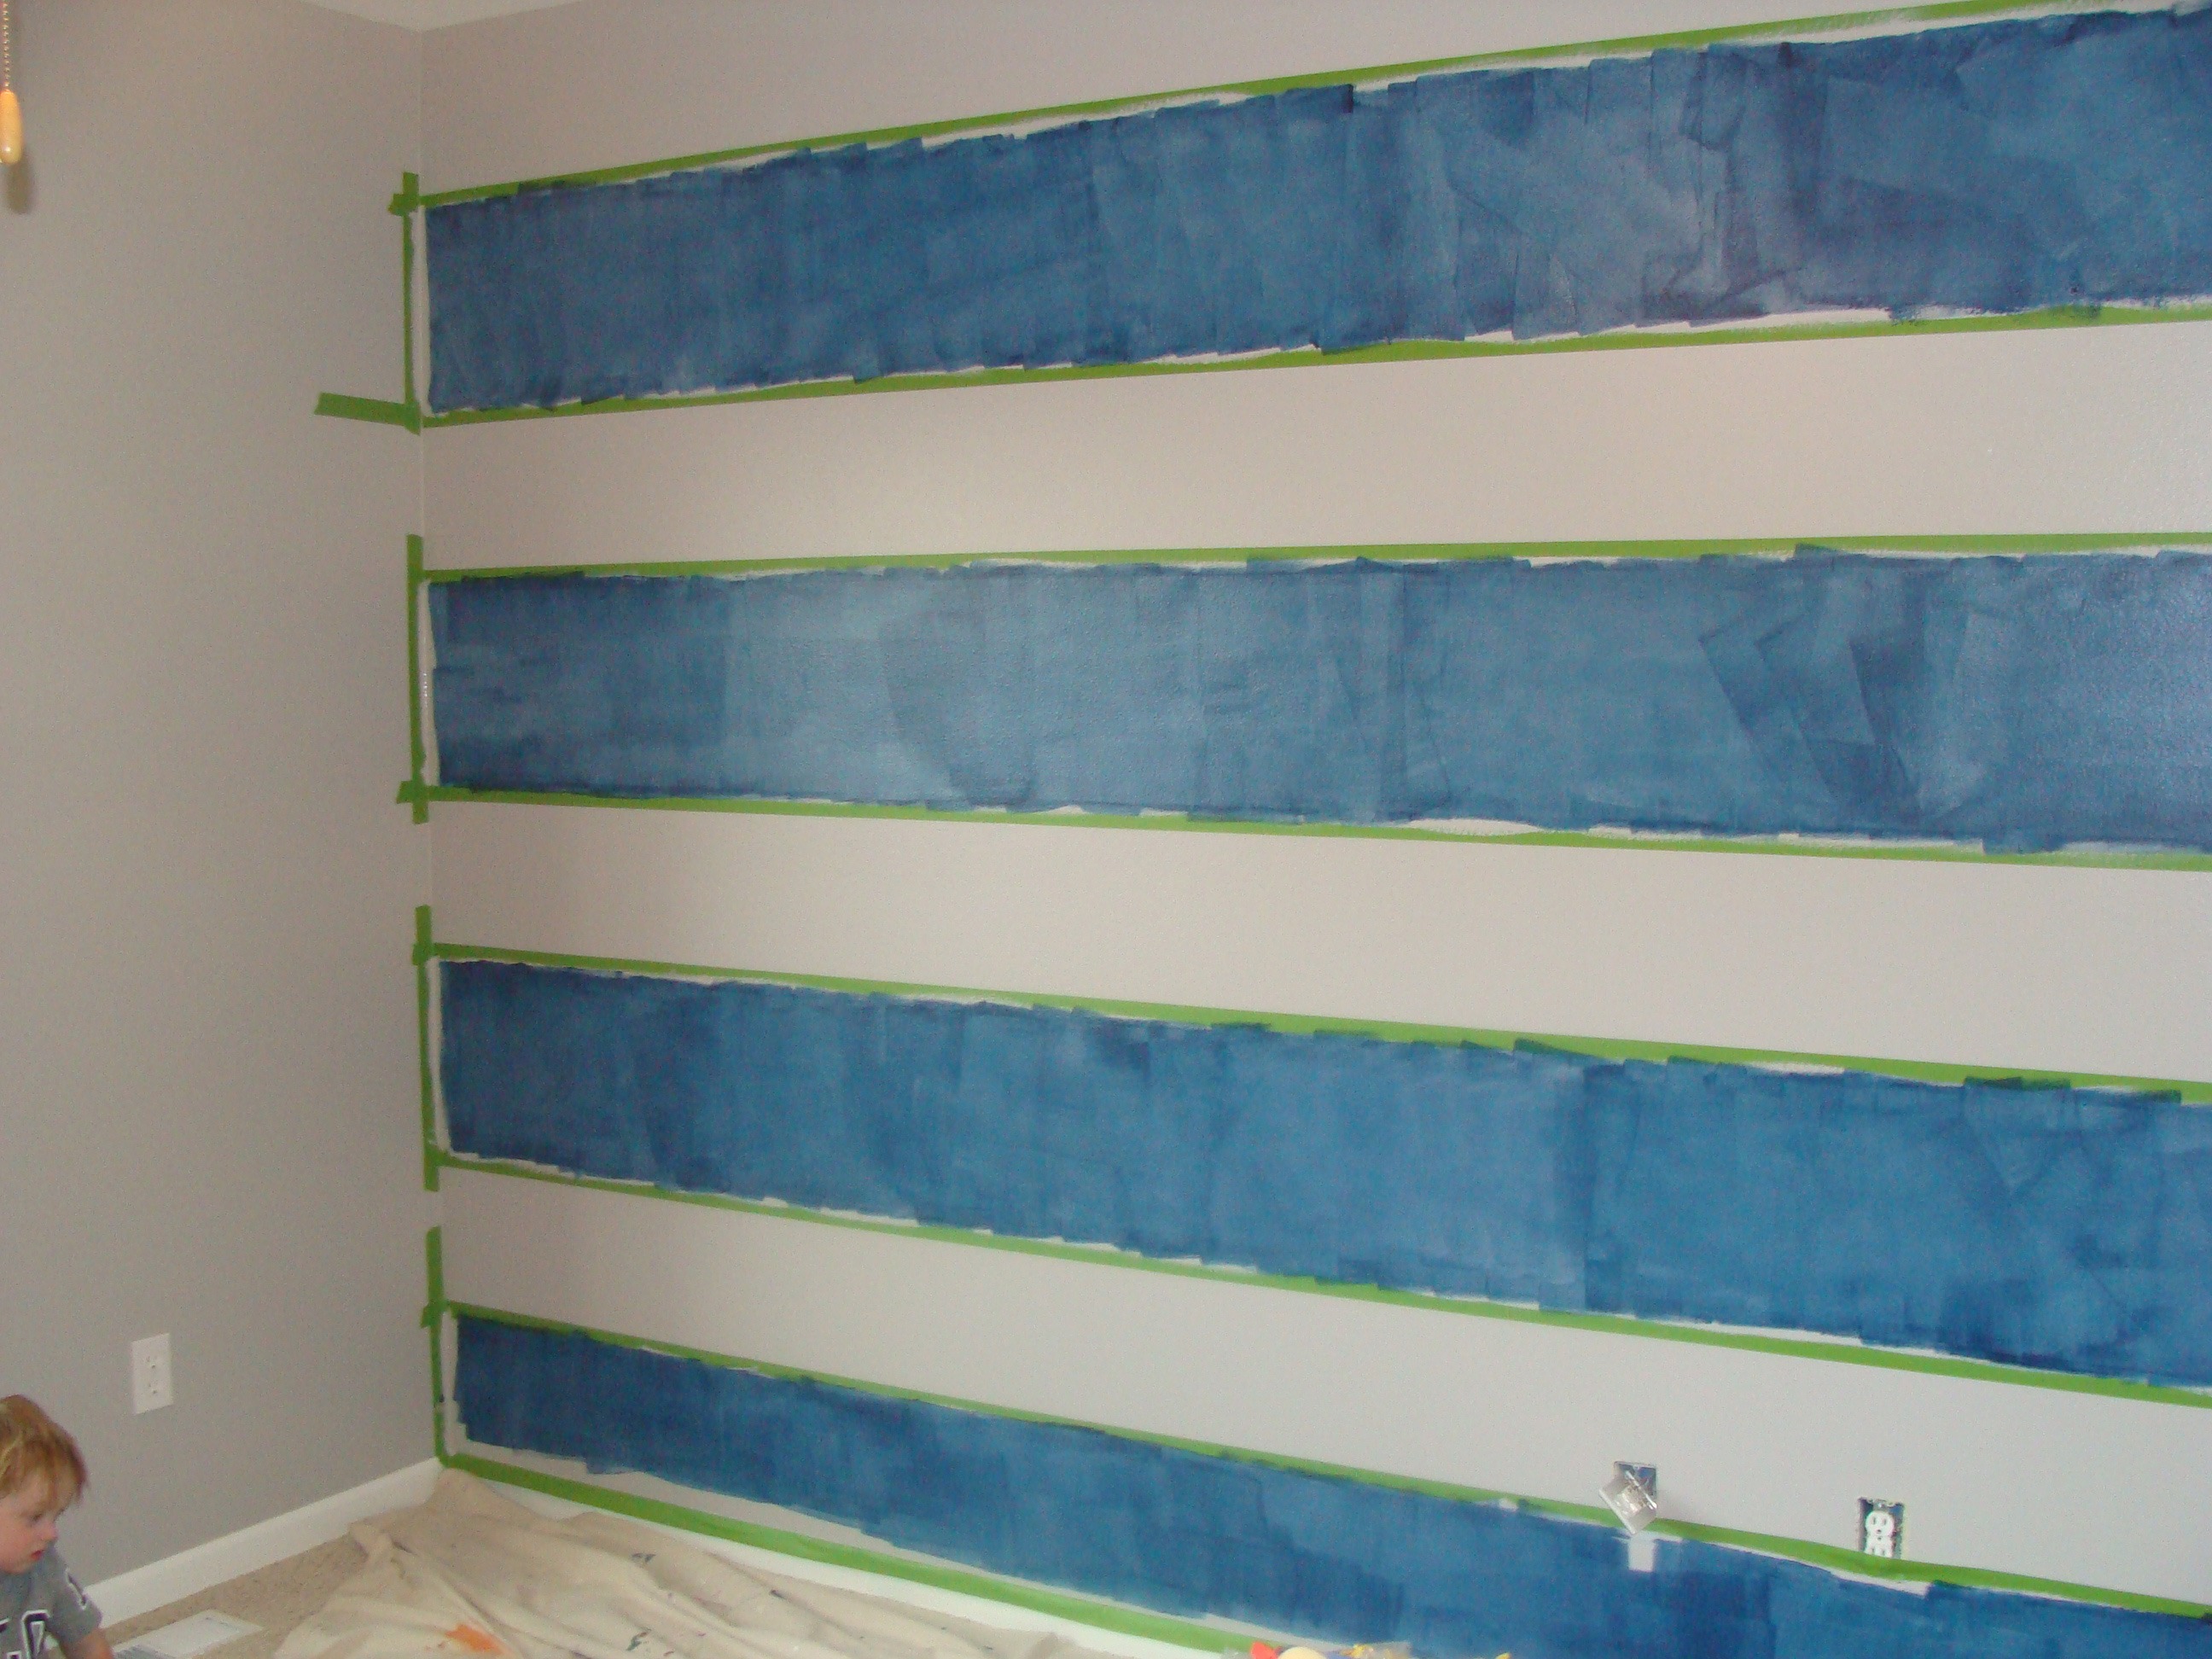
Here is the big picture! You can see the laser level on a tripod in the bottom left corner of the photo. The level was yet another perk of having a fabulous and handy Father-in-Law. He let me use it – for free of course! You can also see…
1.) The laser lines on the wall that helped keep the tape level, even if our walls and ceiling weren’t exactly square.
2.) The pattern of a thick stripe followed by a thinner looking stripe from the taping pattern I used to keep the stripes equal widths in the end.
3.) How the taped easily lined up along the laser line.
4.) My process of checking measurements, stretching the tape loosely across the wall, and then adjusting the level and making the tape line precise.
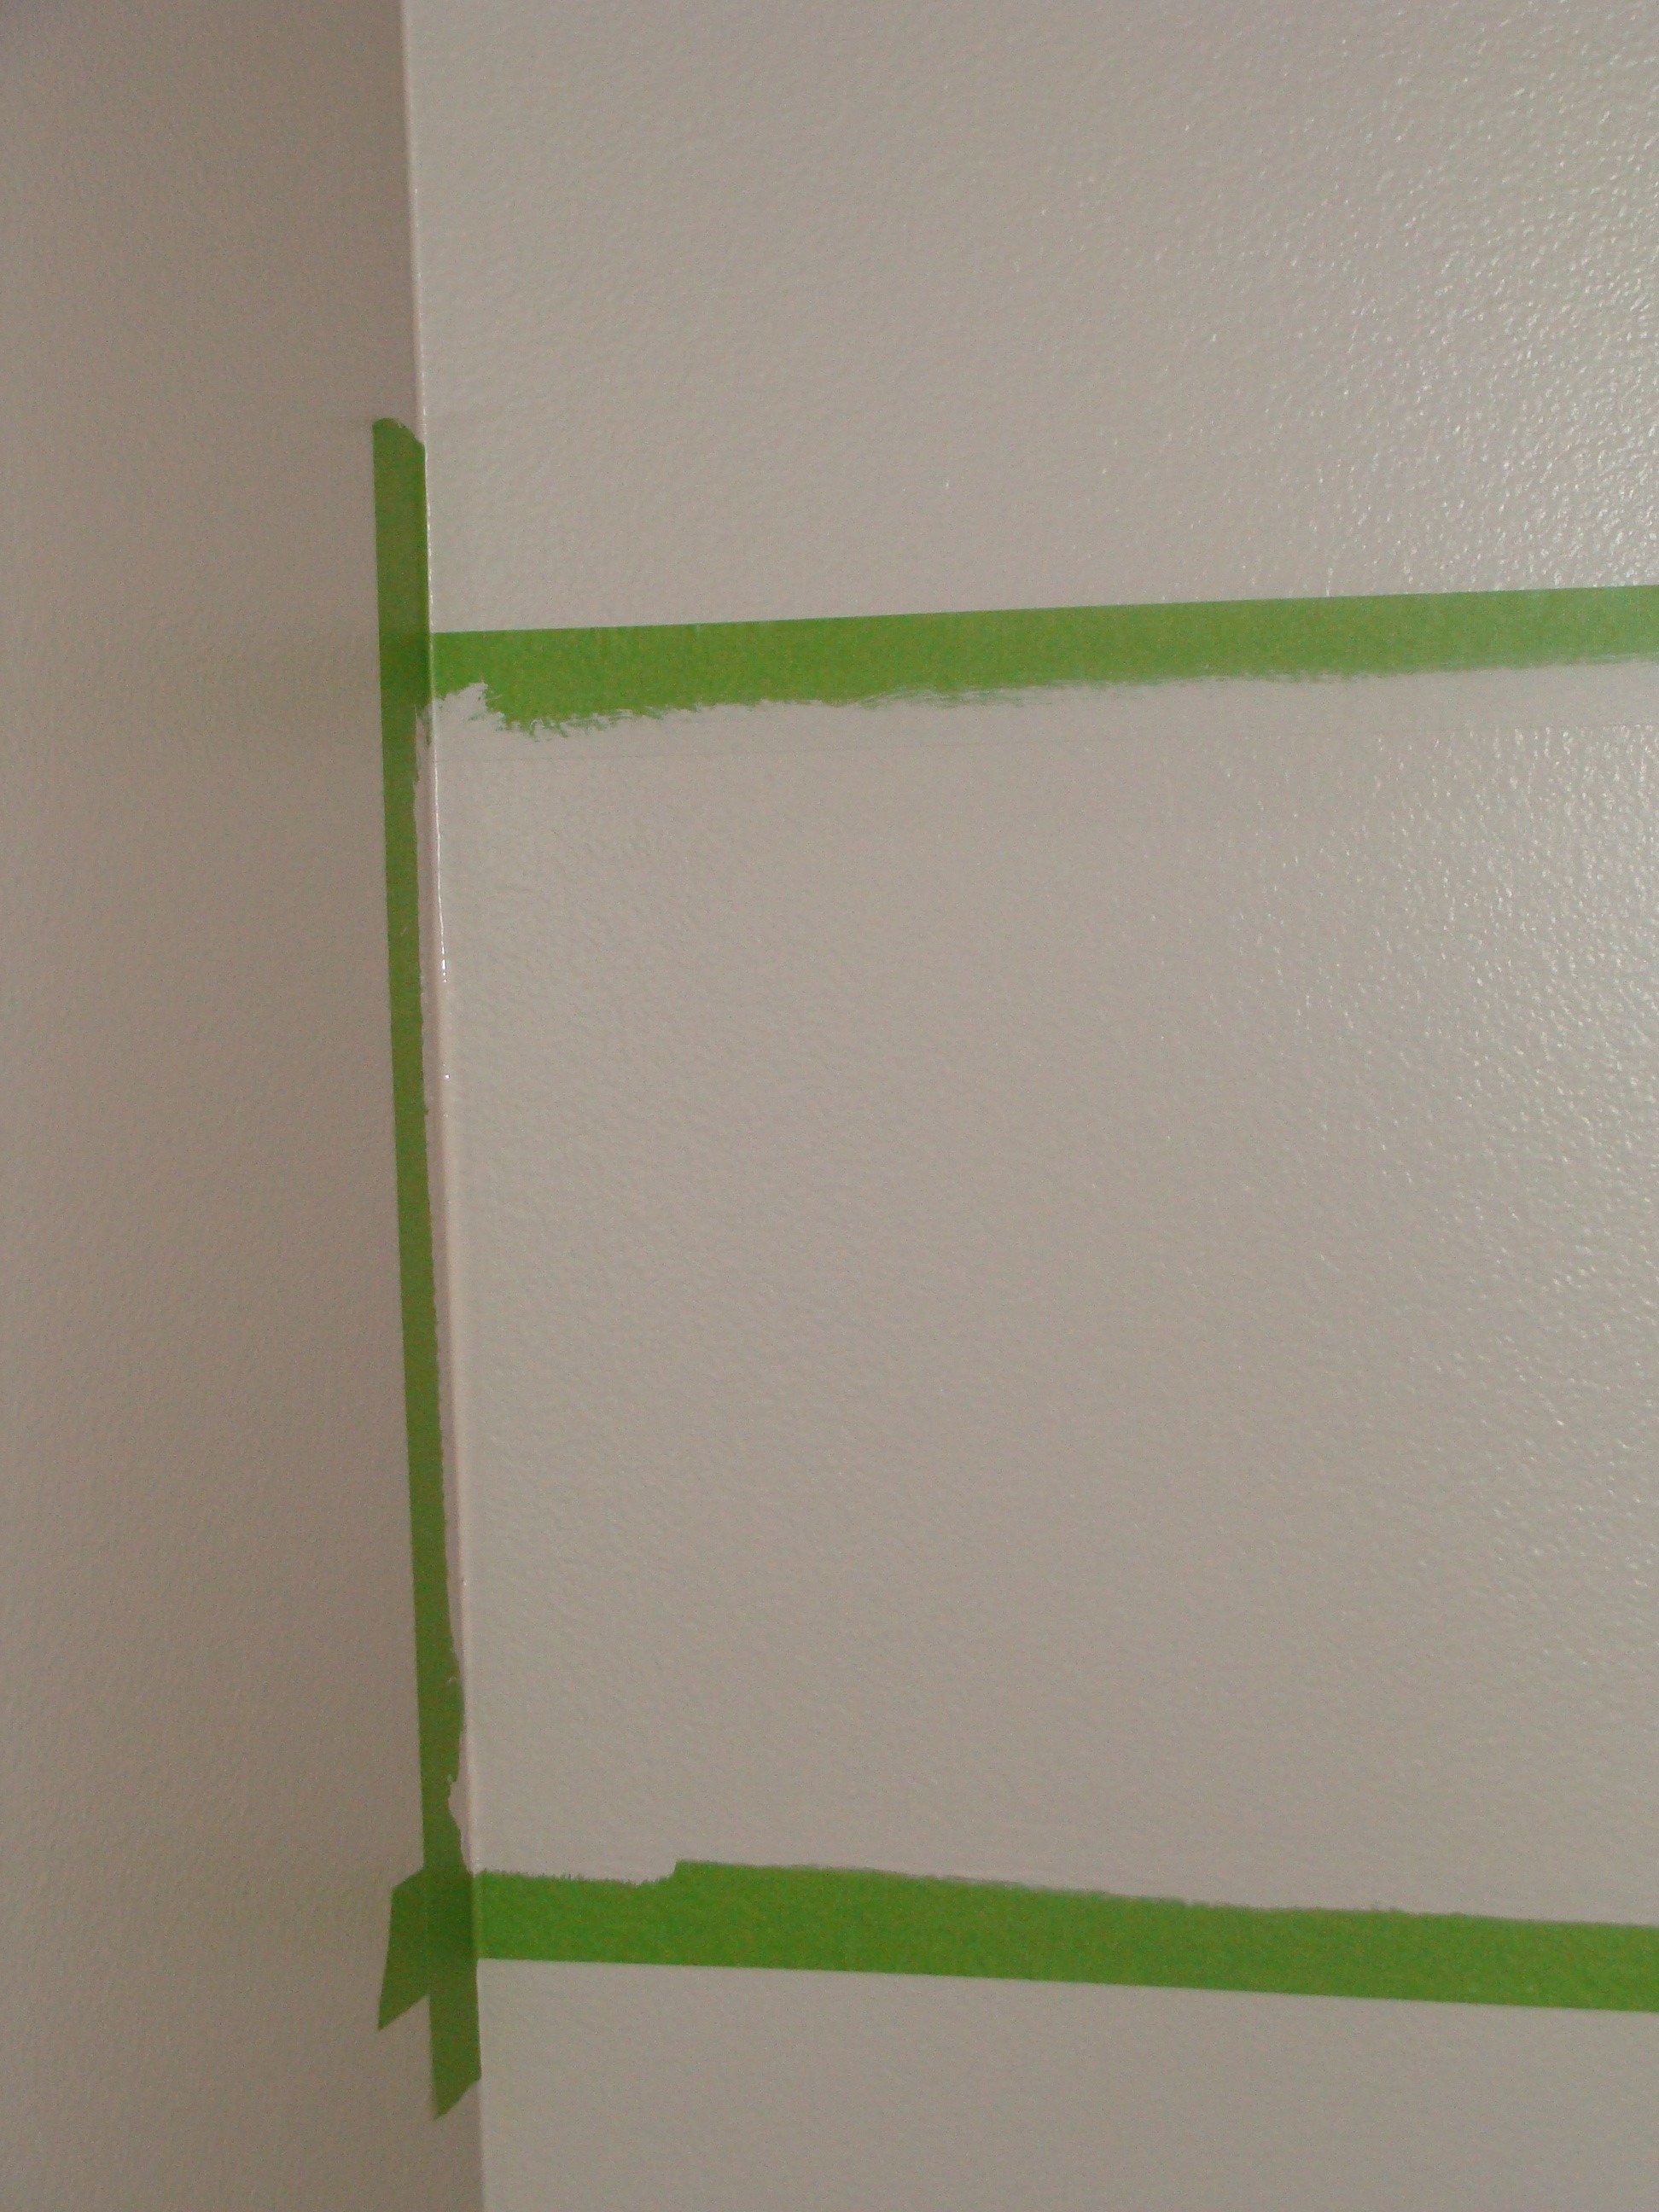
5.) The vertical tape pieces I used to protect the side wall and make cutting into the corner easier.
Here is an up-close photo of the vertical tape used to protect the side walls that I didn’t want to paint.
After all of the taping was done – yeah!! (Actually, it really wasn’t that bad with the laser level.) I decided to go ahead and do a first prep coat of gray paint along the edges of the tape. I questioned the necessity of doing this with the awesome reviews my friend had given me of the Frog tape, but with the crazy dark blue color I was using I decided it was an extra step worth taking.
The idea behind painting over the tape first with the original wall color is this… If you have a place where your tape is not firmly pressed against the wall and a little paint bleeds under, it will be your first coat of paint that bleeds under. By using the original wall color first, the paint bleed won’t show – it is the same color you want under the tape anyway. The new color creating the stripe on top is then protected from bleeding under the tape, because of the barrier created by the first gray (in my case) coat of paint.
I didn’t let the gray paint dry long, maybe 15 minutes longer than the time it had while I was painting other areas. I figured it was a thin coat of paint, and didn’t need to be perfect.
Next, the fun step – my new “Naval” blue color!
As you can see, and as is true with most dark colors – the first coat didn’t look great. I had used a foam roller and it was going on really thin. I decided to go ahead and brush on the next coat. I was afraid the roller marks weren’t going to fade very well and I was going to be applying 6 coats to get the color I wanted! I also was seriously questioning the roller recommendation of the “help” at the paint store.
I wasn’t super worried though, and I knew two coats would be required. I took a little break to help the hubby with the kids (so he didn’t lose his mind!) and then came back to paint another coat with my brush. I actually like cutting in and brushing on paint better than rolling it anyway, so I was very content to carefully paint the next coat, applying a nice thick coat, without saturating my tape or getting paint where I didn’t want it.
And here is where I about lost my mind! I stepped back to look at my final product and the stripes looked a little splotchy and I could see my brush strokes. I couldn’t just see some brush strokes in an OCD way – they were bad! I told myself the paint just needed to dry and I went to put the kids to bed.
The next morning I went back, cautiously optimistic to check out my stripes – and they looked terrible. The paint wasn’t even and the brush strokes were super obvious! I have brushed dark paint on other walls in our house while cutting in and have never had this happen – I was baffled. As I always do in a home project panic – I called my dad. His recommendation was to paint one more coat with a new small foam roller.
Sorry I don’t have a picture of this phase to show you all. I was so flustered by my challenging issues that I forgot to snap a picture – or maybe I was just too mad at the wall to want to give it the honor of a photo!
My biggest fear with this solution was that I had only purchased a quart of paint – assured by the paint store “help” that it would be MORE than enough paint, even if I was painting one whole wall. I didn’t have anywhere near enough paint, so I would be praying the next batch of paint was a perfect match. Oh, did I mention that in my optimism that first night I took the tape down! There was no way I would be able to put the tape back up, so a small line of the first batch of paint would be visible, since I would only be able to paint as close to the edge of the stripe as my cutting in skills would allow without messing up the now gray stripes.
Have I said before that this blog is not just about success – well it’s not. Projects don’t always go as planned, but I’m persistent. (My husband might call it stubborn!) So, off to the paint store I went to get more paint and a better foam roller – the little 4″ kind.
After one more coat of paint I was happy (enough) with my stripes and called it good. In the right light I can still see some lines in the paint that make me grumpy, but I’m pretty sure I am the only one that will notice them. I know Jase won’t care – and really it is all about him anyway!
So, what do you think? The big reveal!!
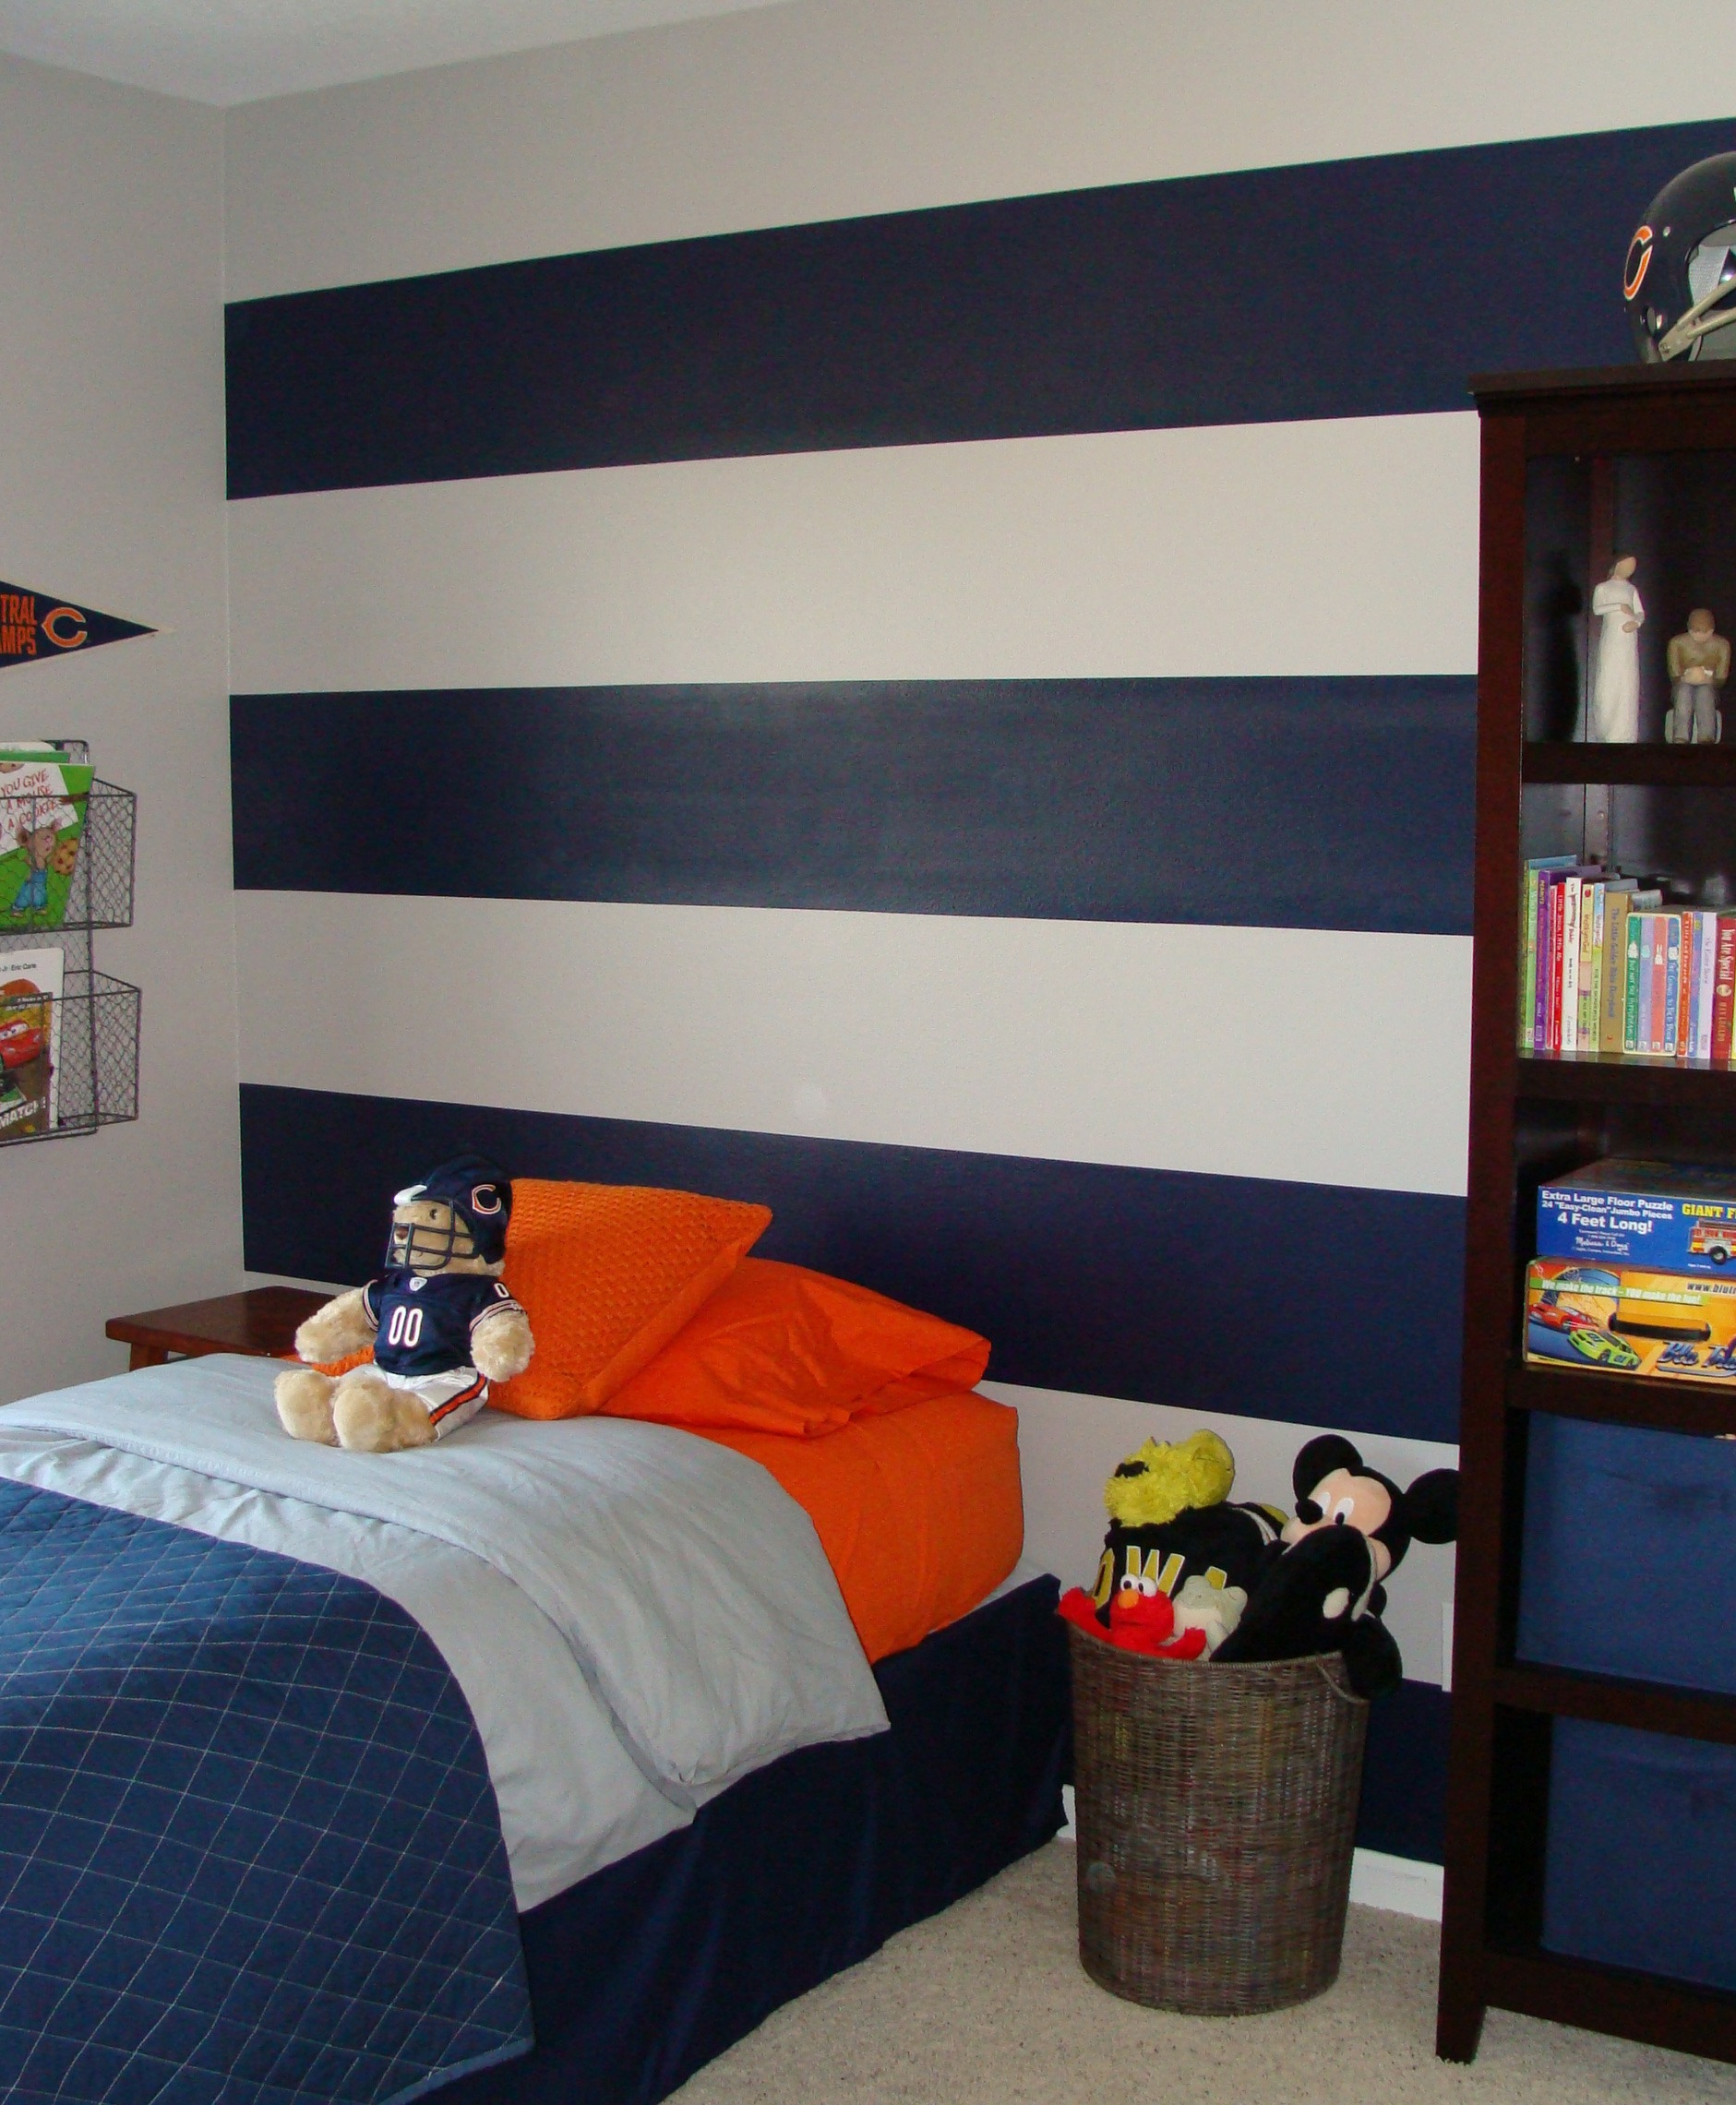
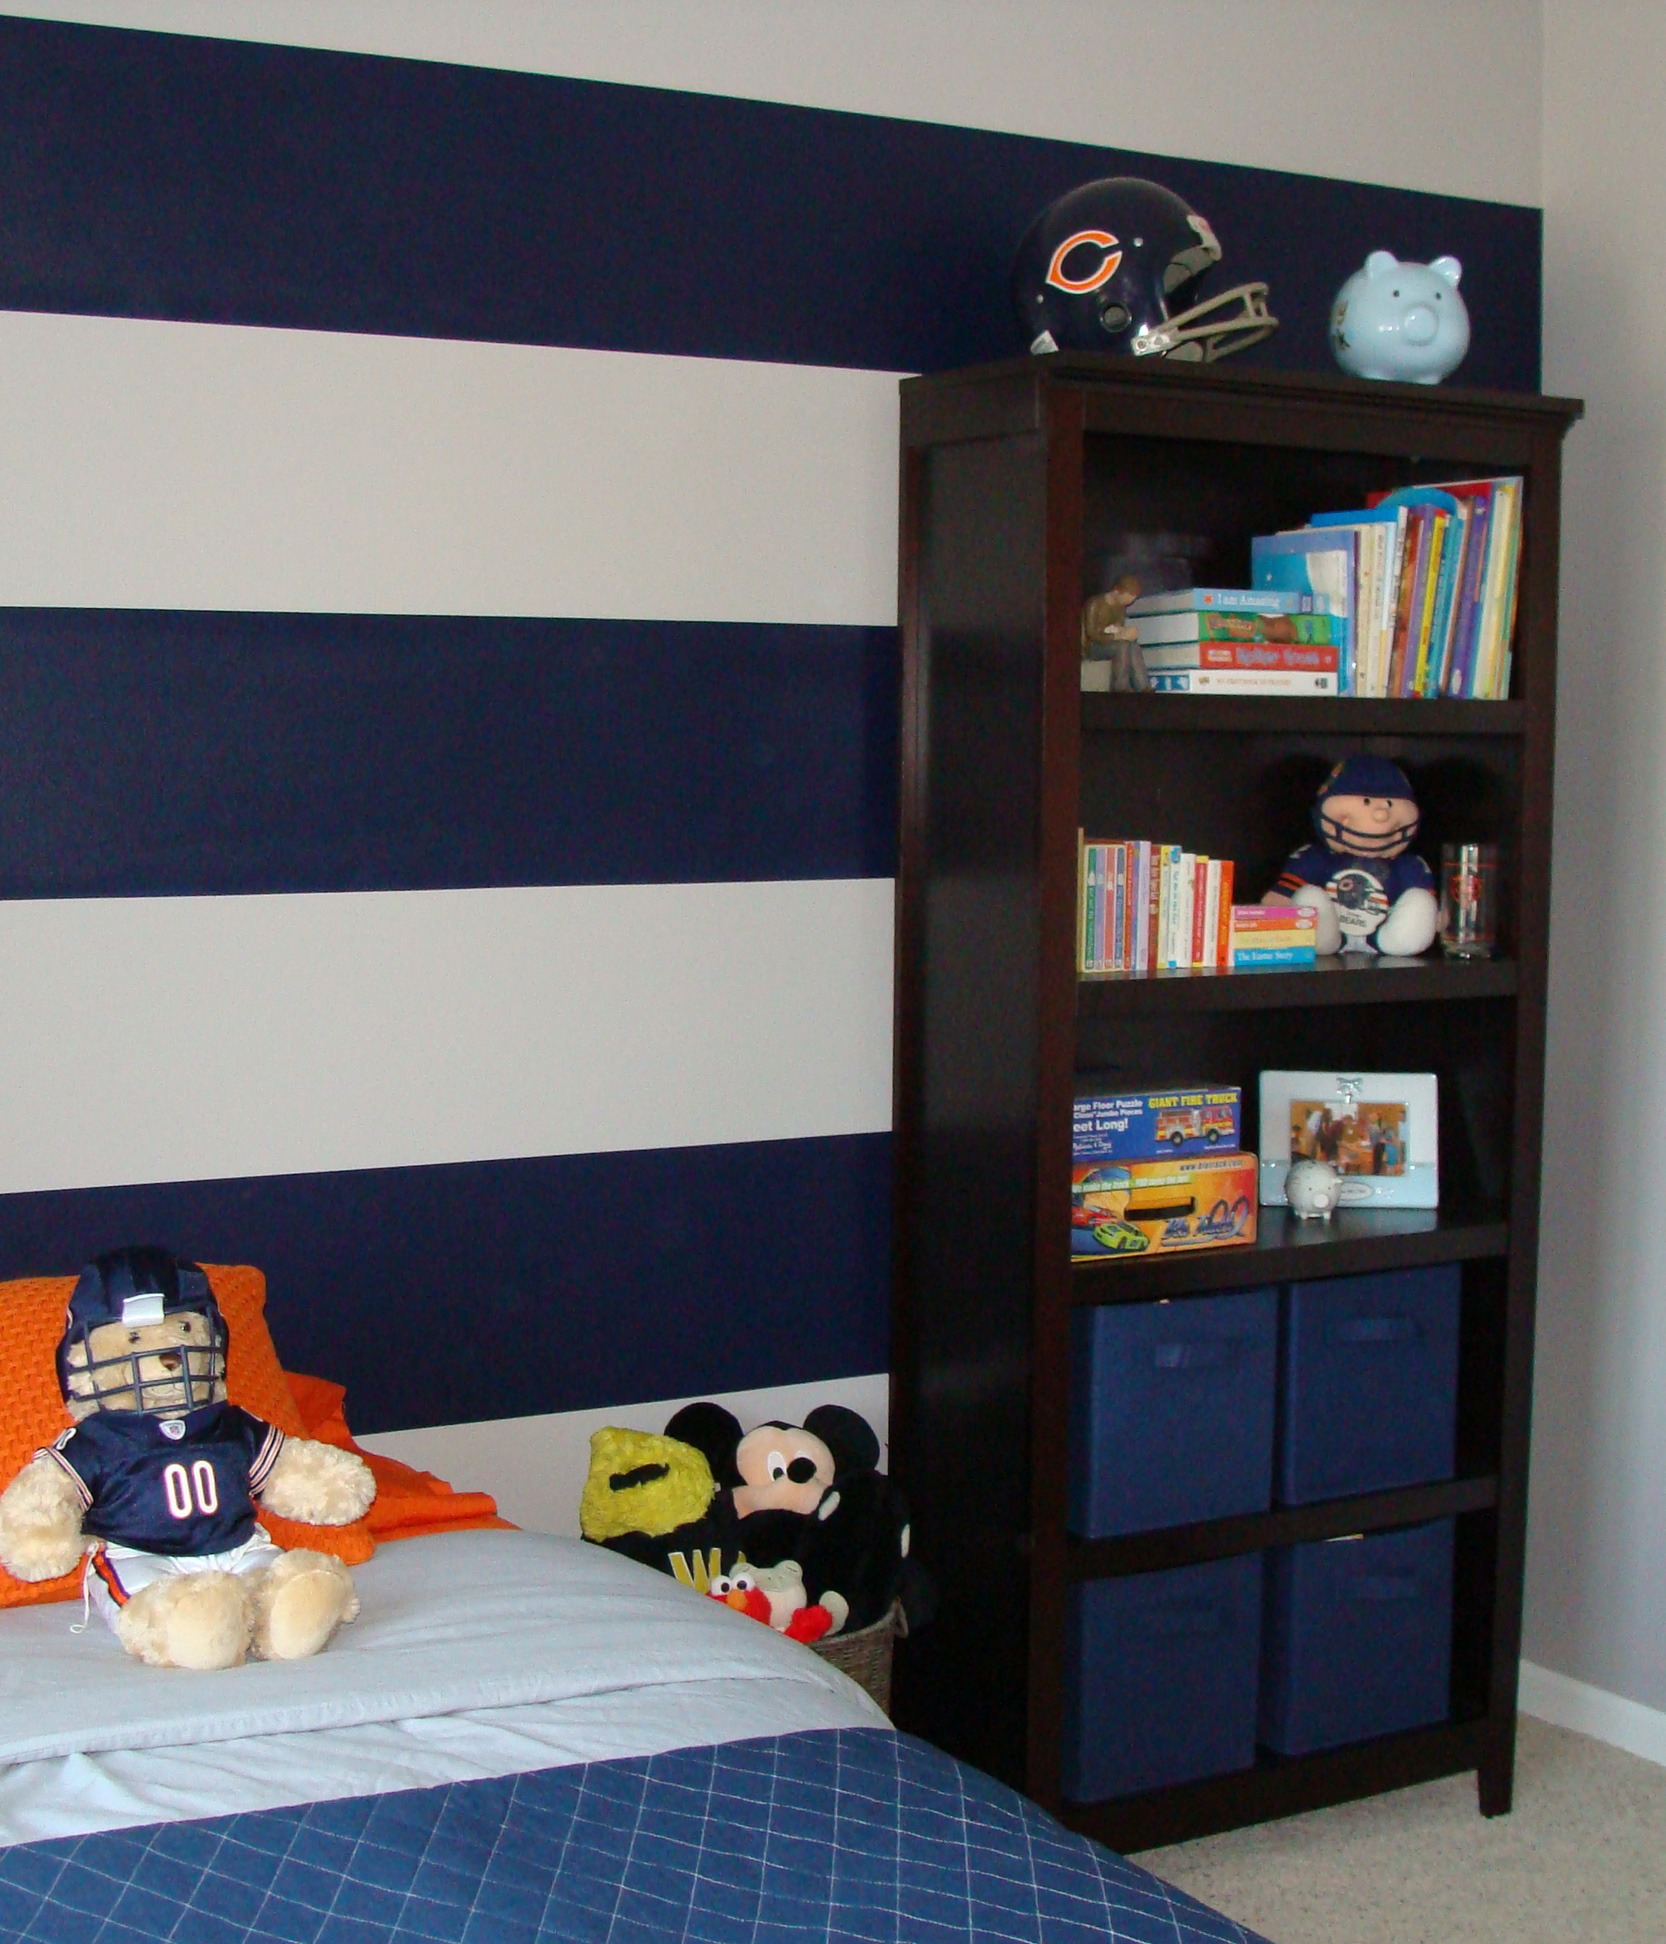
As you can see behind the basket of stuffed animals, that slightly smaller stripe at the bottom of the wall is well hidden. And from the other side of the room…
I can’t sign off without a little explanation for my misery. With the whole crazy first night of painting I also forgot to rinse the paint out of my brush before putting the kids to bed and had to throw it away – my favorite Purdy brush! With all of the mishaps, I was pretty cranky that night! However, a few weeks later I found my favorite Purdy brush in the laundry room, after my Father-in-Law had used it. Huh? Oh rats! In my rush to get those stripes on the wall in one day with three kids running around I grabbed the wrong brush – the one for oil based stains. Now I know why my usual painting methods resulted in crazy ugly brush strokes – I used the wrong stinkin’ brush!!
As they say, all is well that ends well – right! I love the stripes now, especially as I have added his headboard and other finishing touches to his room. More to come on that very soon!